Note from the Writer:
Once upon a time, I used to enjoy gardening. That time was before kids, or possibly with just one child. Once I had more kids, this hobby fell to the wayside. But we had a good run with fun DIYs and even some homemade canned pasta sauce with hidden kale that my kids actually ate! And I grew all of the contents! It was a gratifying and fun hobby. I previously blogged this project on my personal blog and am now sharing with the Madison Moms Blog community! If you want to follow along on more craft and DIY projects along with daily life, follow me on Instagram at @KylaMarieCharles.
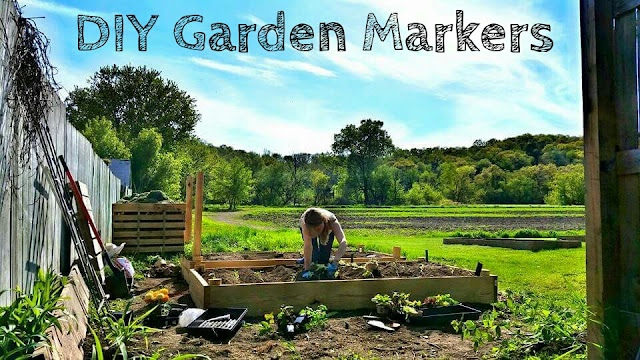
Here is an easy DIY that will only take a half hour from start to finish and only costs a couple dollars! My two year old son helped me finish this project while the baby napped, and we really needed some markers for our garden that we planted pretty late this year thanks to the crazy Midwestern weather.
You’ll need:
- A pack of wooden shims (or paint sticks, rulers, whatever!)
- Chalkboard paint
- A permanent white chalk pencil
- A paint brush
To start, prepare your shims and take inventory of the plants and vegetables you wish to label.
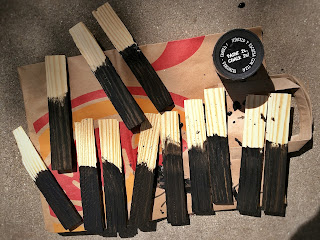
With your list handy, paint enough shims for each mark. The chalkboard paint should cover fairly consistently and only need one coat.
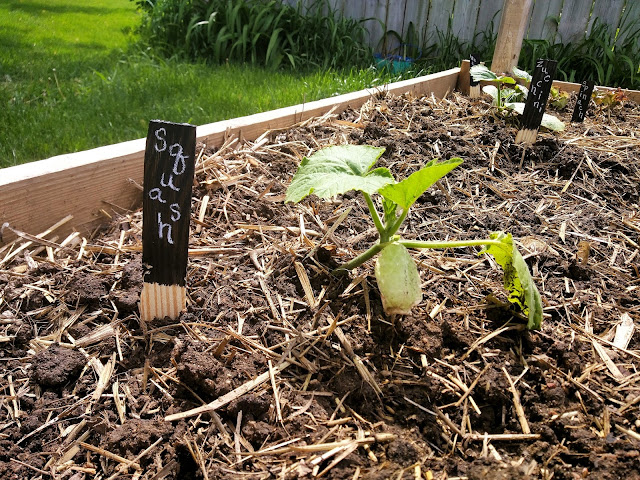
Let the shims dry and use the chalk pencil to write each label, and you’re done!
Go ahead and place them in your garden and enjoy a super simple homemade touch!


