Summer is NOT over. Despite what the retail stores want you to believe with their end of summer clearance sales. Despite what the craft stores want you to believe with pumpkins, colorful leaves, and scarecrows everywhere. Despite what the messages from your child’s school are making you believe. Despite what some websites and Facebook pages want you to think by asking “what’s your favorite pumpkin recipe.” Despite what a gentleman who set out his first big ripe orange pumpkin in the end of his driveway in a condo development I drove through today intends. Summer is NOT over.
Part of summer for my family is enjoying ice cream. Summer is NOT over so we are still making ice cream from scratch. It takes a bit of time. It requires patience while the ice cream base cools for an entire day in the refrigerator. It MORE than pays off when you eat your own velvety smooth, deliciously rich ice cream treat. Last summer we made a Mint Cookie Ice Cream a couple of times as my son loves mint flavoring. This summer, we didn’t have any mint flavoring or chocolate sandwich cookies on the day that was ice cream making day so we decided to make Chocolate Cookie Dough Ice Cream. (FYI: It’s technically custard due to the cooked egg yolks in the recipe!)
This year we used this Chocolate Ice Cream recipe from JoyofBaking.com. JoyofBaking.com has consistently high-quality, tested recipes that have excellent directions. My son is currently into using a stopwatch to time daily events. It took us 40 minutes and some odd seconds to mix and cook the ice cream base before refrigerating it. Please see the complete recipe for all ingredients and instructions.
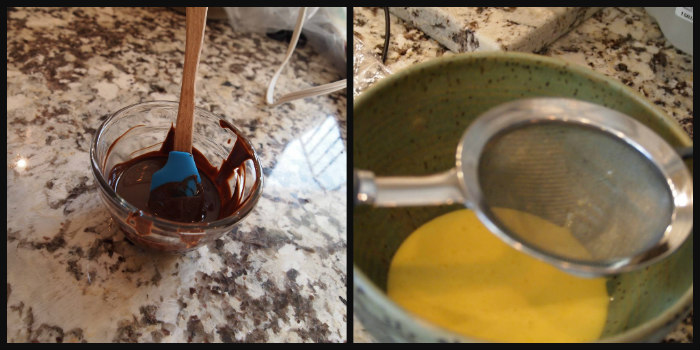
My son weighed and melted the 2 oz of bittersweet chocolate, and then he mixed 1/2 c sugar and 4 egg yolks in our mini-food chopper.
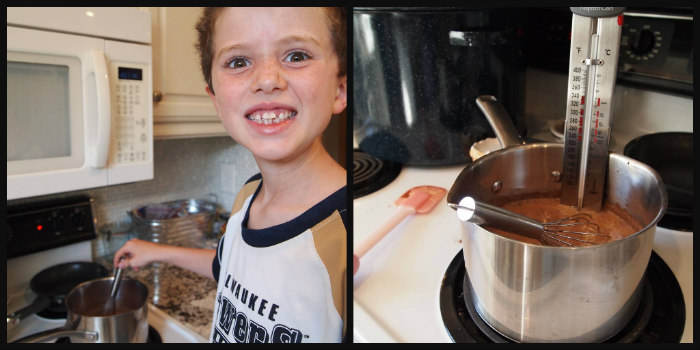
He stirred the mixture of half & half and cocoa powder on the stove before we mixed it with the sugar, egg yolks, and melted chocolate from above. The he stirred some more and watched the thermometer to make sure the mixture got to 170 degrees Fahrenheit. After it was at that temperature, he stirred in the vanilla.
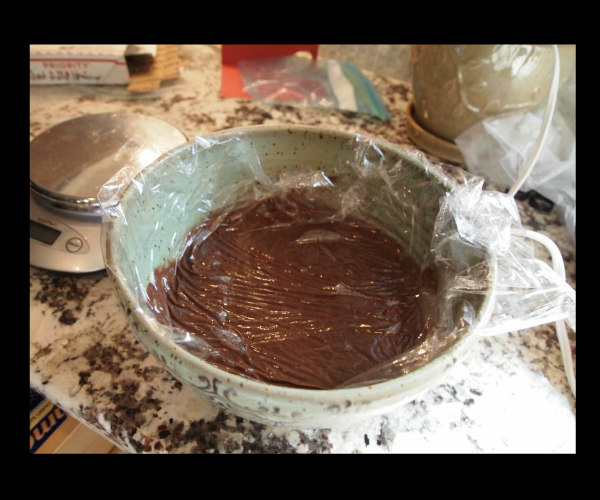
Then we poured it into a bowl (I did it because it was hot) and covered it as show below to prevent it from getting a skin on top and put it in the refrigerator.
My son restarted the stopwatch waited and waited and waited nearly an entire day day until the base was cool enough to put in in our ice cream maker. My son checked the temperature of the bowl in the refrigerator several times as it is HARD to wait for the ice cream base to get cool enough to put in the ice cream maker. We could’ve put it in the ice cream maker earlier than 22 hours later, but that honestly would’ve been around my son’s bedtime. I didn’t think making ice cream at bed time was the smartest idea.
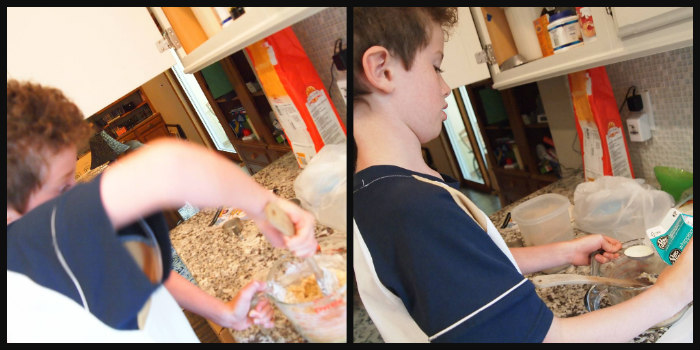
Later in the day made the cookie dough pieces to put in our ice cream. This recipe is adapted from a few places. Here’s our version.
Cookie Dough Recipe
5 Tbps granulated sugar
6 Tbsp packed brown sugar
1/4 cup butter (soften)
1 tsp vanilla
3 Tbsp heavy cream (or half and half or whole milk if that’s all you have)
1/2 tsp salt
1 cup flour
1/2 cup mini chocolate chips
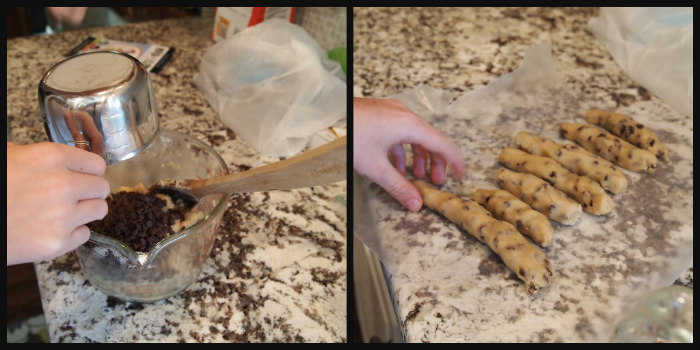
Mix sugars and butter together. Then add vanilla and heavy cream and stir in. Mix in salt and flour.
Stir in chocolate chips (and leave a few for sampling). Shape it all into small logs (or worms as my son called them) and place in freezer until you can cut in to small chunks.
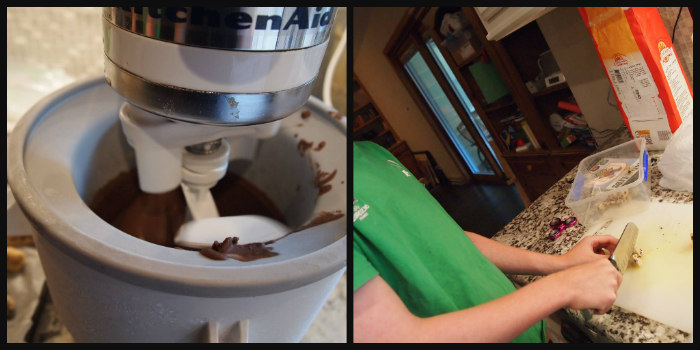
Eventually we took the ice cream base out of the fridge and put it in our ice cream maker (Kitchen Aid attachment we got at a garage sale, but there are many models of ice cream makers on the market). While the ice cream was freezing and churning for about 20 minutes, my son chopped the cookie dough worms into small pellets.
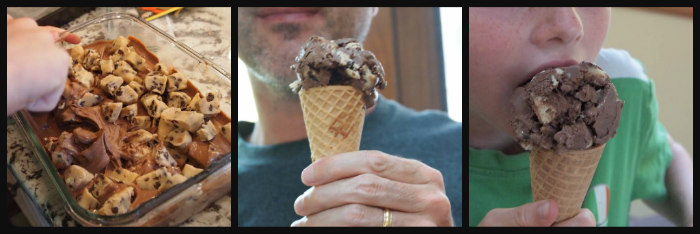
Finally we removed it from the ice cream maker, and my son stirred the cookie dough into the ice cream. Then it was time to enjoy what turned out to be a very rich dark chocolate ice cream!! (Truth: We froze the ice cream a bit longer in the freezer prior to serving. Straight out of the Ice Cream Maker it is more like soft serve, so we find we prefer to freeze it in the freezer for an hour or two to make it firmer!)
If you were (like my son) keeping track of approximately how long the process took from start to finish, you’d see the palindrome 23:11:32 as the number of hours, minutes, and seconds it took us to get this project done. Only about 1 hour and 10 minutes of that were active hours and minutes. The rest was waiting for the ice cream base to get cold enough.


