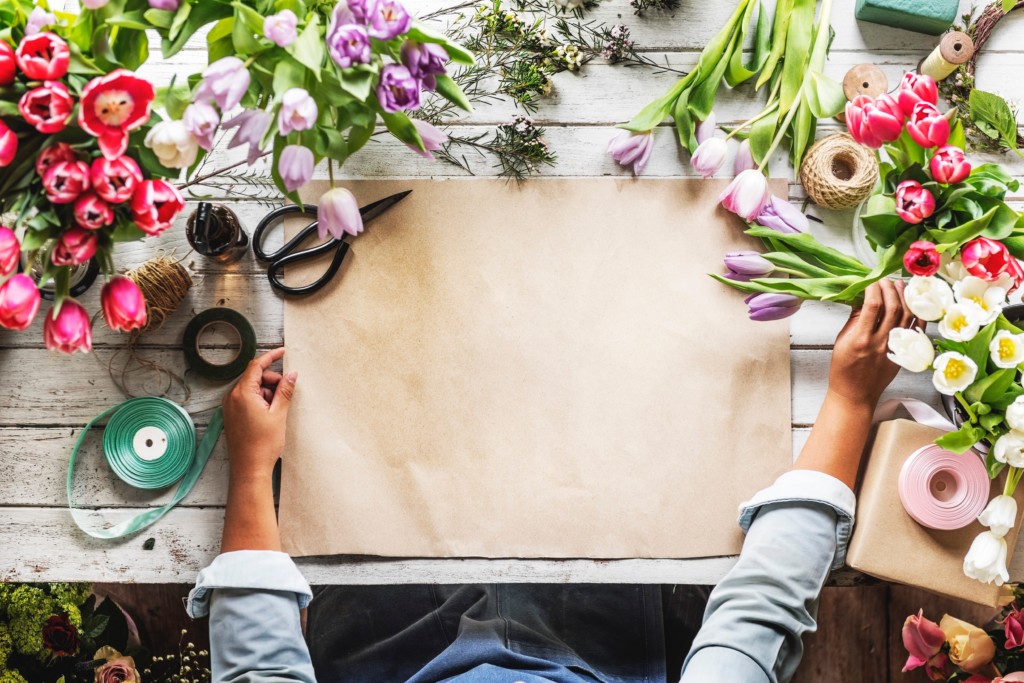
Even though the weather keeps telling me otherwise, I know it’s spring, and the promise of warmth keeps pushing me forward. The minute April hit I was so ready for sunshine, and I’m not sure if I am jinxing it, but I am forcing brightness in my house, recovering throw pillows in floral, touching up paint, and putting out a few of these cute projects I’ve assembled for you. I hope they bring you the taste of joy that they brought me! You don’t even need to do them with kids, grab a glass of wine, or sparkling water and kick back on your own!


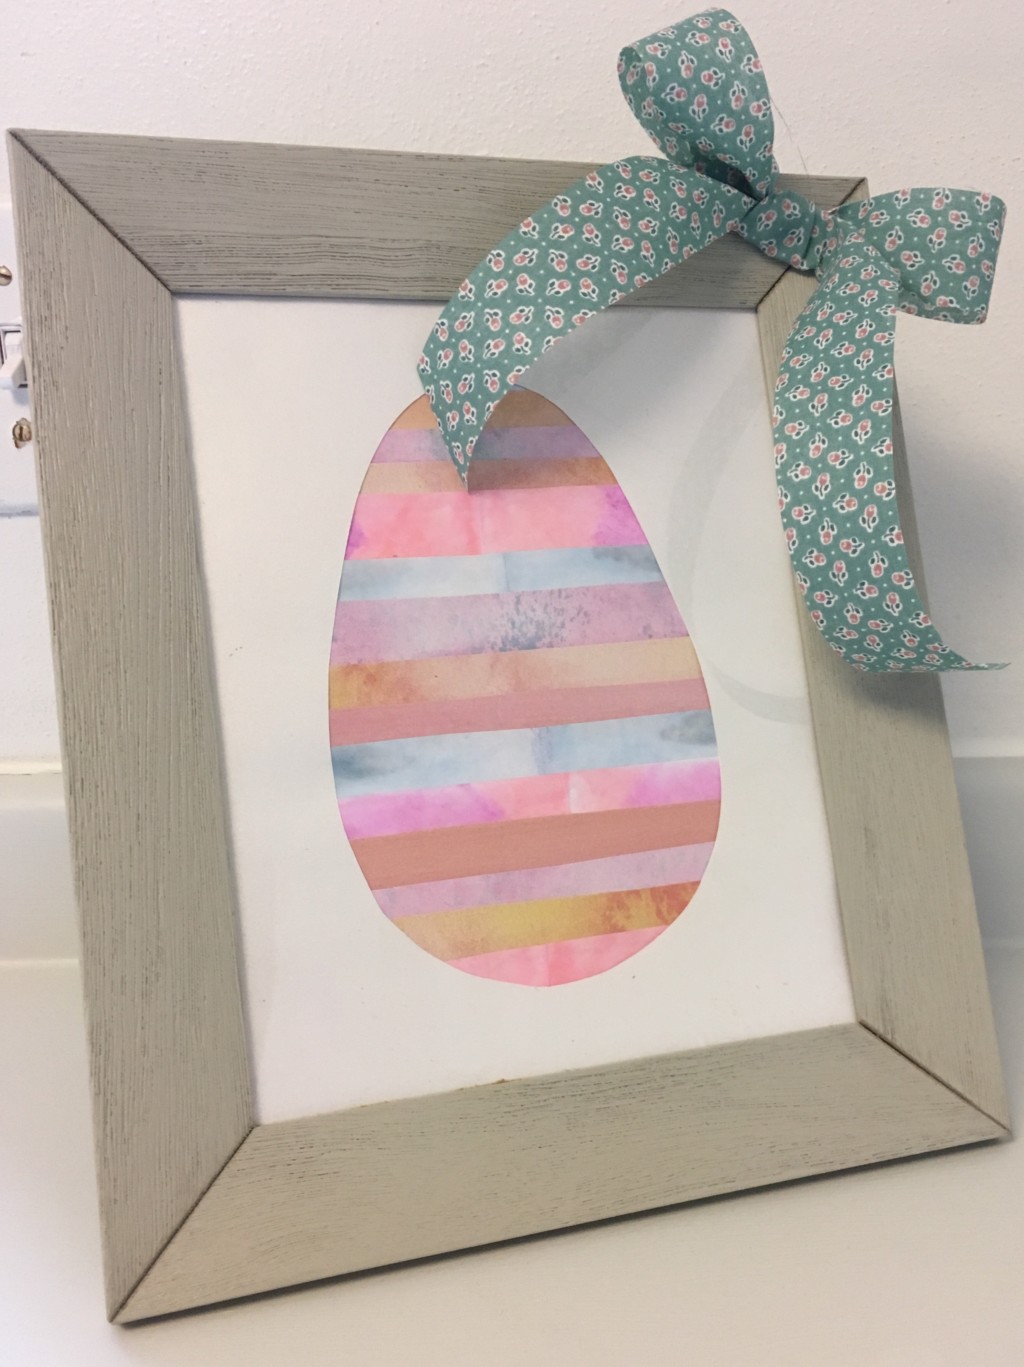
Striped Easter Egg Silhouette
Age: 2-Adult
This fun project is the perfect thing for Spring. Colorful, easy and keepsake worthy. It only takes about 10-15 minutes, and can be adjusted for any age.
Materials Needed:
- Patterned or different colored papers. (If you don’t have colored paper on hand, scroll down to find another project to make your own)
- 2 Pieces of plain white, or another solid color paper
- Glue Stick
- 2 round objects to trace, one smaller than the other
- Xacto Knife or Scissors
- Scotch Tape
- Optional Materials***Frame and Ribbon
STEP 1: Cut your paper into strips of varying widths. (For the younger kids it may help to have this done before you begin the project)
STEP 2: Place your round objects to trace in the center of one of your plain pieces of paper, one above the other. Trace around each circle, and then connect the each side with a line, creating your egg shape.
STEP 3: Cut out the egg with an xacto knife or scissors. If older kids are doing this project independently have them make a cut to the shape, cut it out and then tape closed the original line. For younger kids, doing this ahead of time, and having it ready to go is helpful.
STEP 4: On your last piece of plain paper, begin to glue the strips down from top to bottom, overlapping each one until you have filled the sheet. Cut off the excess hanging over the sides.
STEP 5: Place your silhouette paper over the striped paper, and tape up the edges. VOILA! You have a beautiful egg! Optionally, you can put it in a frame, and glue on a cute spring ribbon.


“Home-Made” Tie Dye Paper
Age 2-Adult

This project is so quick and easy, the hardest part is waiting for it to dry, but it is so worth it! My oldest will often make a bunch of sheets at once, so she has many to choose from when she wants to do a project.
Materials Needed:
- Blank white paper
- Washable Markers
- Cup of water
- Wide paint brush
- Protective covering for surface(plastic cutting board, grocery bag, piece of cardboard, etc…)
STEP 1: Fold your paper in half, leaving a crease, and completely color one side with a fun design
STEP 2: With your protective cover on your surface, completely “paint” the blank half with water and fold the sheet of paper over. Continue to paint the outside of the sheet with water until the color bleeds over and through the blank side.
STEP 3: Unfold to see the beautiful masterpiece you’ve created, and leave to dry. Once it’s all dry, use for anything you’d like!


Simple Sock Bunnies
Age 6-12
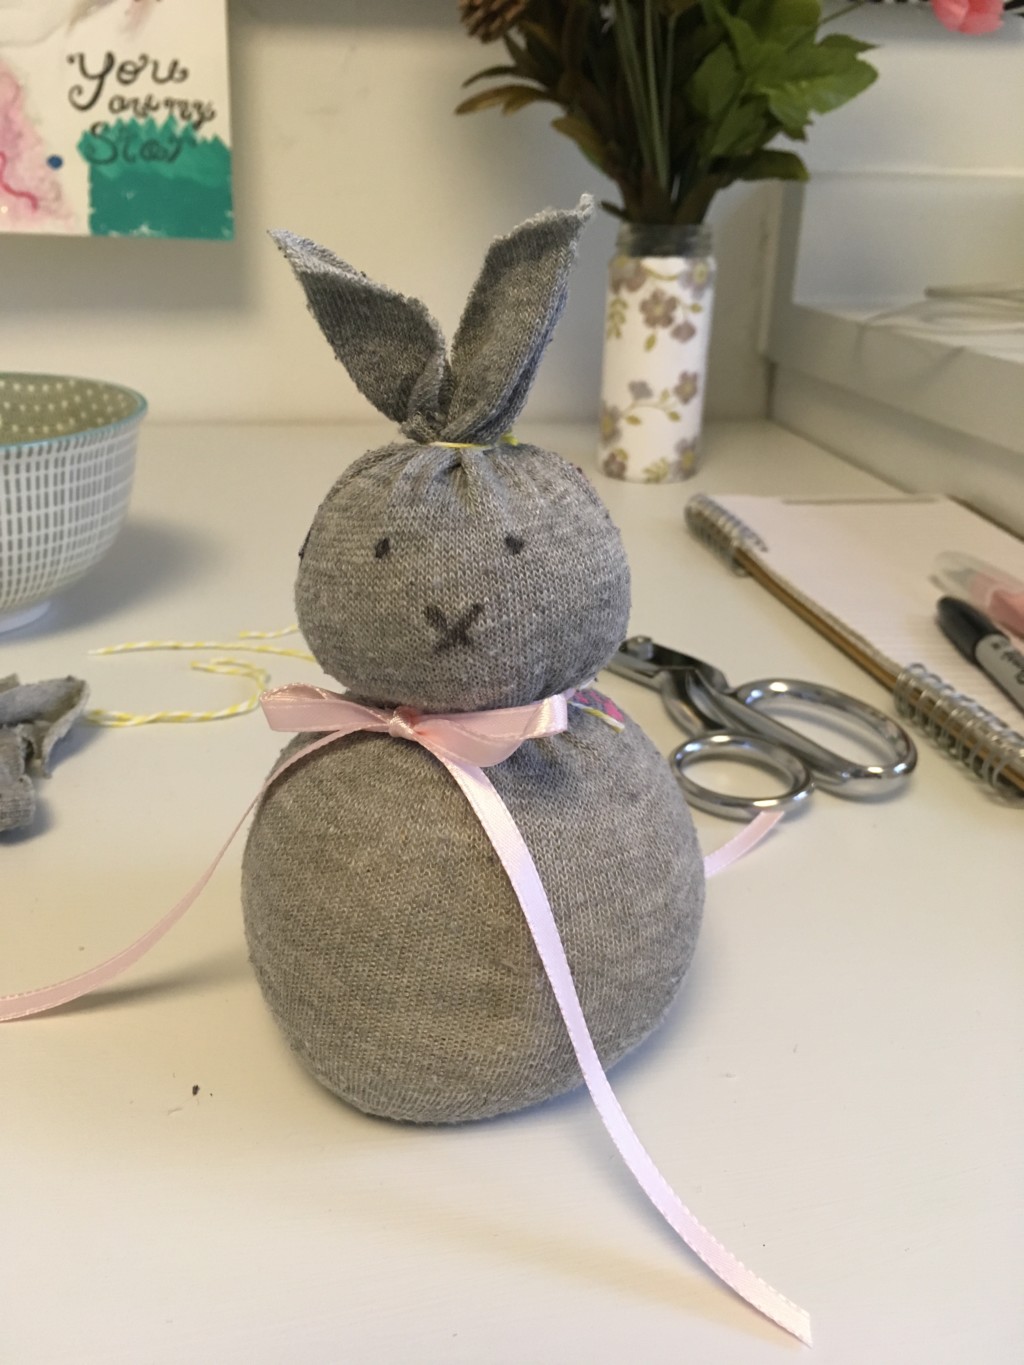
Even my oldest goes crazy over these little guys, they are so adorable, and just scream spring when you bundle a few on a shelf. The best part is that you can turn all those stray socks floating around the laundry room into something else, instead of feeling guilty after giving up on the match after a few months!
Materials Needed:
- 1 lone sock
- 1-2 cups of rice
- 2 strands of twine
- 1 ribbon
- Scissors
- Black Marker
- Glass jar
STEP 1: Put your sock into the glass jar and wrap the ankle hole around the top of the jar. Fill the sock with rice, until it just about reaches the heel. It will now stand on its own.
STEP 2: Use your hand to create a small head shape on top, leaving a bigger circle on the bottom. Using the twine, tie the top of the sock closed, and then using the other piece of twine, tie tightly between the two circles. This will create your bunny shape.
STEP 3: Cut your ear shapes out. If you have a large amount of sock left at the top, feel free to cut a line across first to straighten out the ear space. Then cut down the middle, to create two even sides. Lastly cut in a curved line on the inside top to bottom, for both ears.
STEP 4: Finish up this project by tying on a ribbon bow, and using the black marker to make eyes and a nose.


Easy Easter Eggs
Age: 2-Adult
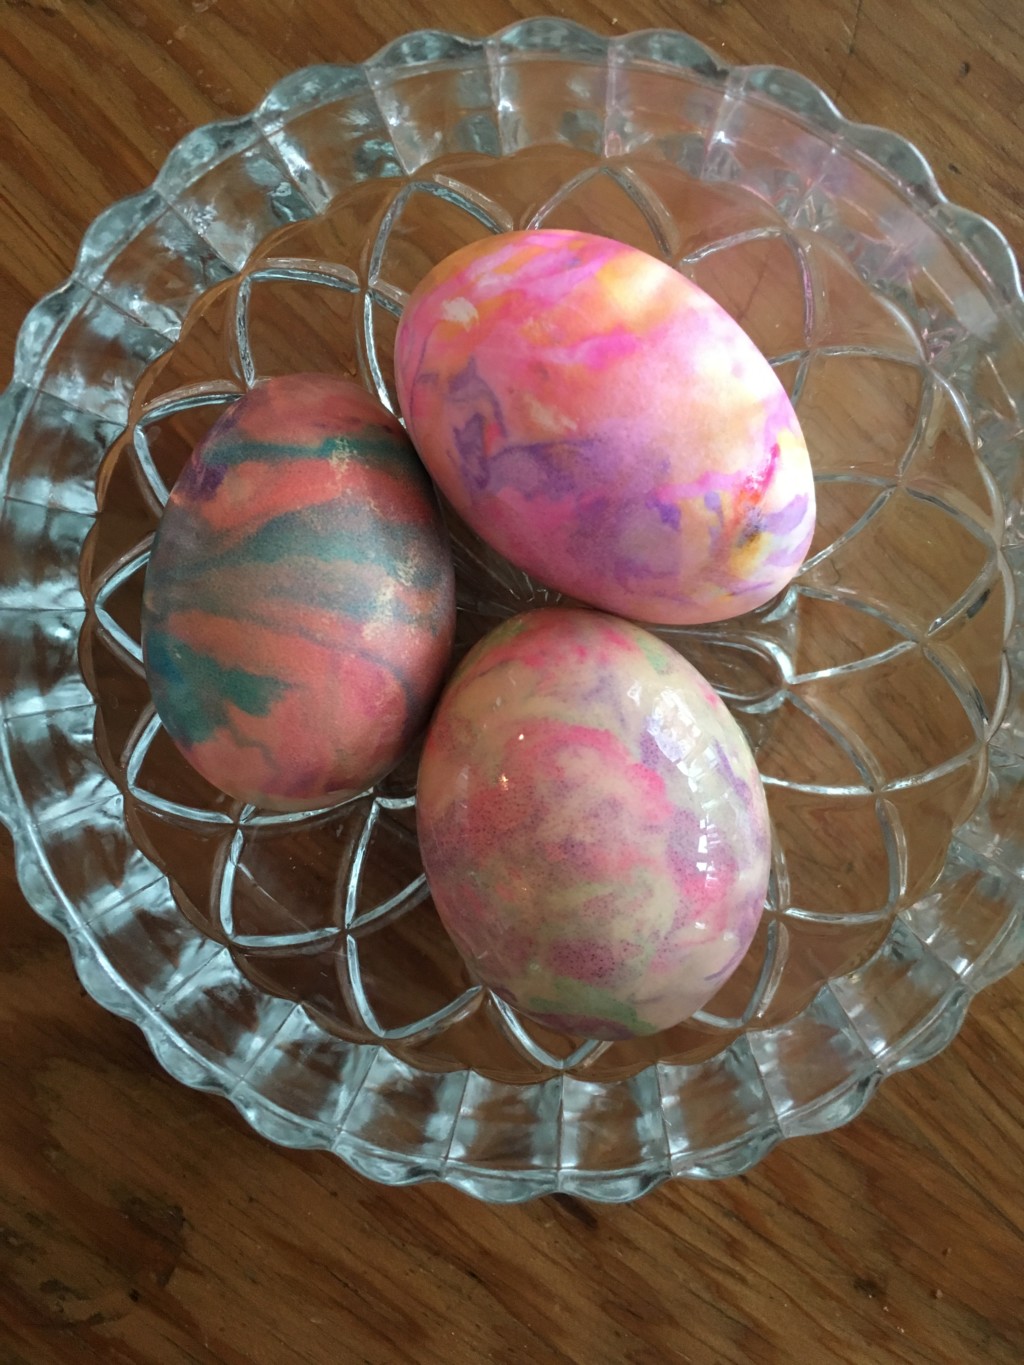
I recently did this with both a group of 2-4 year old kids, and a group of middle schoolers and it’s hard to say who had more fun! This is quick, and simple, and besides the foresight of hard-boiling the eggs, can be done with things you probably already have around the house.
Materials Needed:
- Canned whipped cream (you can use shaving cream, but that makes the eggs inedible afterwards)
- Food Coloring
- Hard boiled eggs
- Plate or cookie sheet
Spray a small pile of whipped cream onto your plate. Squeeze out a few colors of food coloring on top of the cream. Roll the egg around in the coloring, and then leave it to sit for 5-10 minutes (the longer it sits the darker the colors stay) Rinse with water and let air dry. Put in the fridge if you want to eat them later 🙂 Make sure to wash your hands directly after rolling the eggs, or the food coloring will stain your fingers.


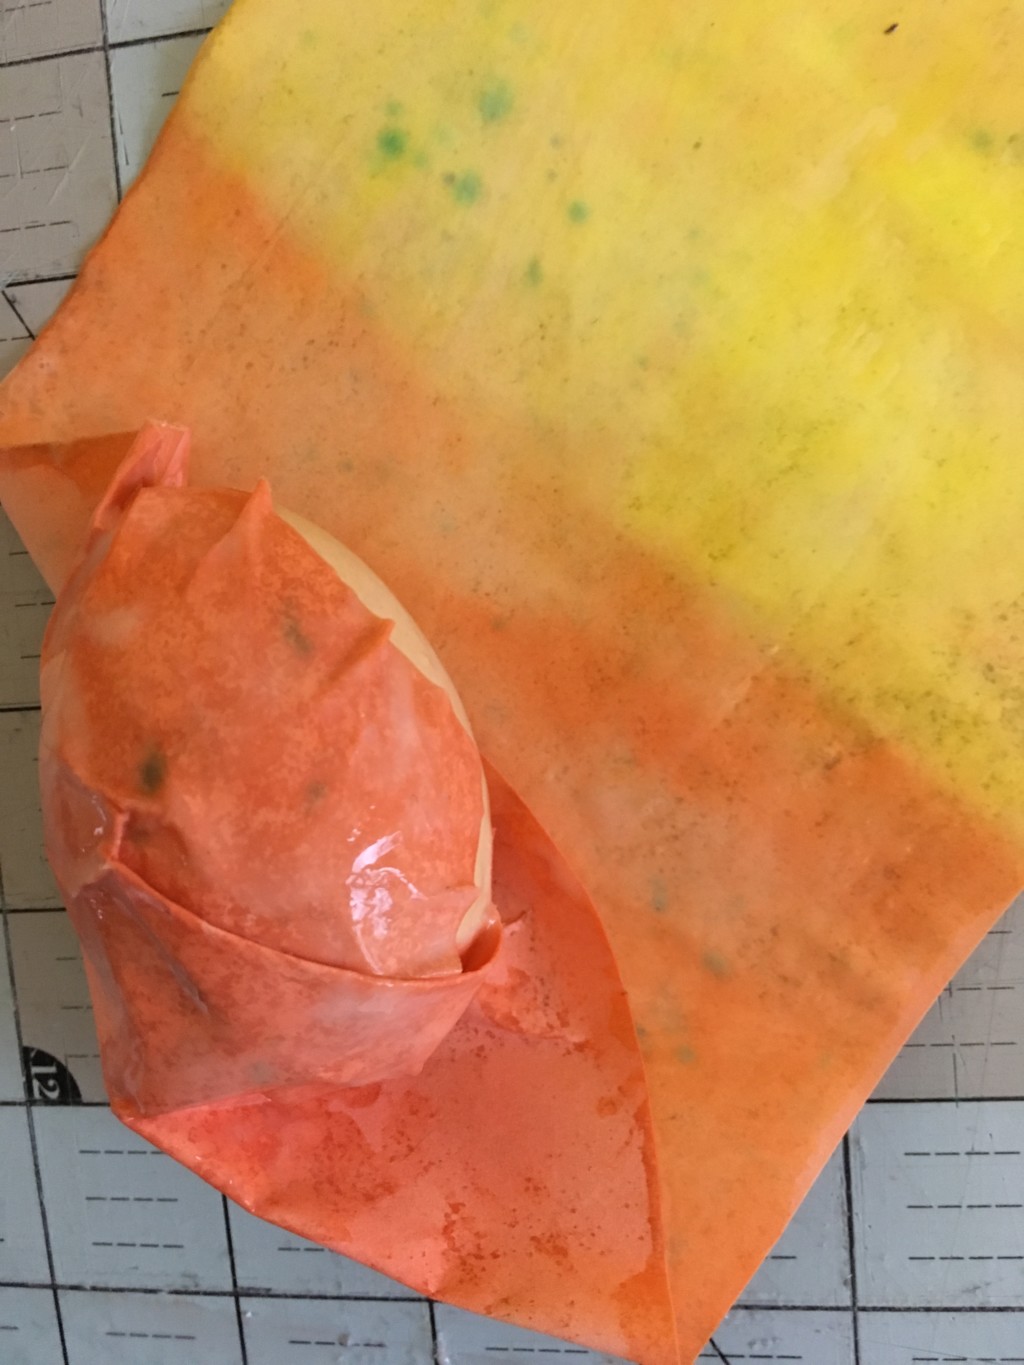
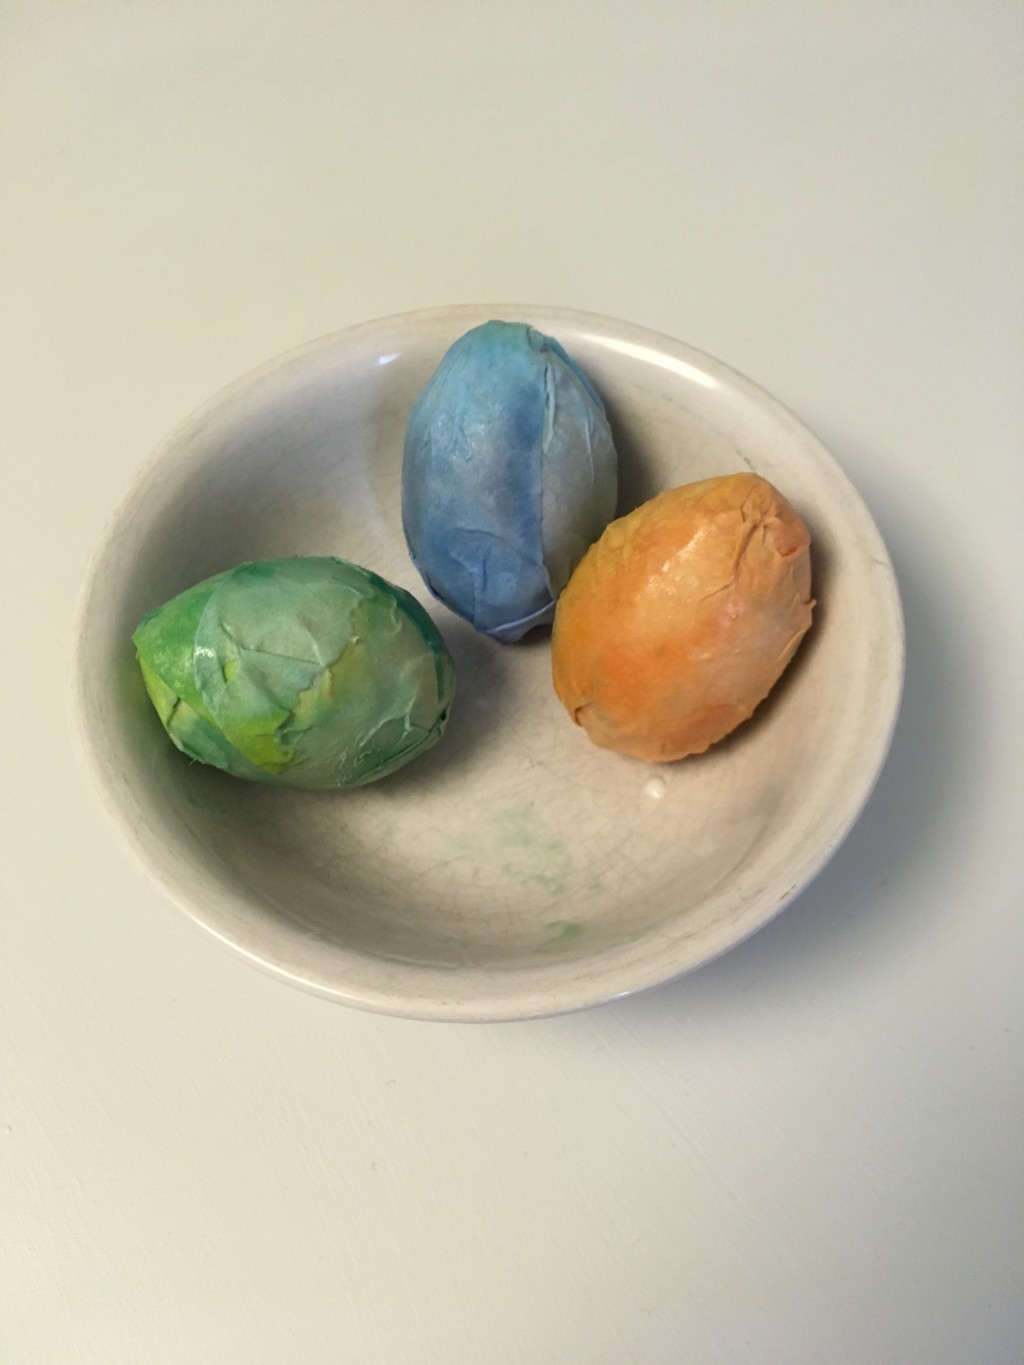
BONUS EGG DYE PROJECTS:
Decoupage Eggs: Elmer’s Glue or Mod Podge (I mix mine with a little water for this project to make the paper more malleable) , paint brush, colored paper, hard boiled egg.
Using a half sheet of paper, paint the glue over the whole sheet. Then begin rolls and painting the paper to the egg, tear off paper you don’t need as you go. Sit and let dry once covered. PLEASE NOTE: These are not edible.
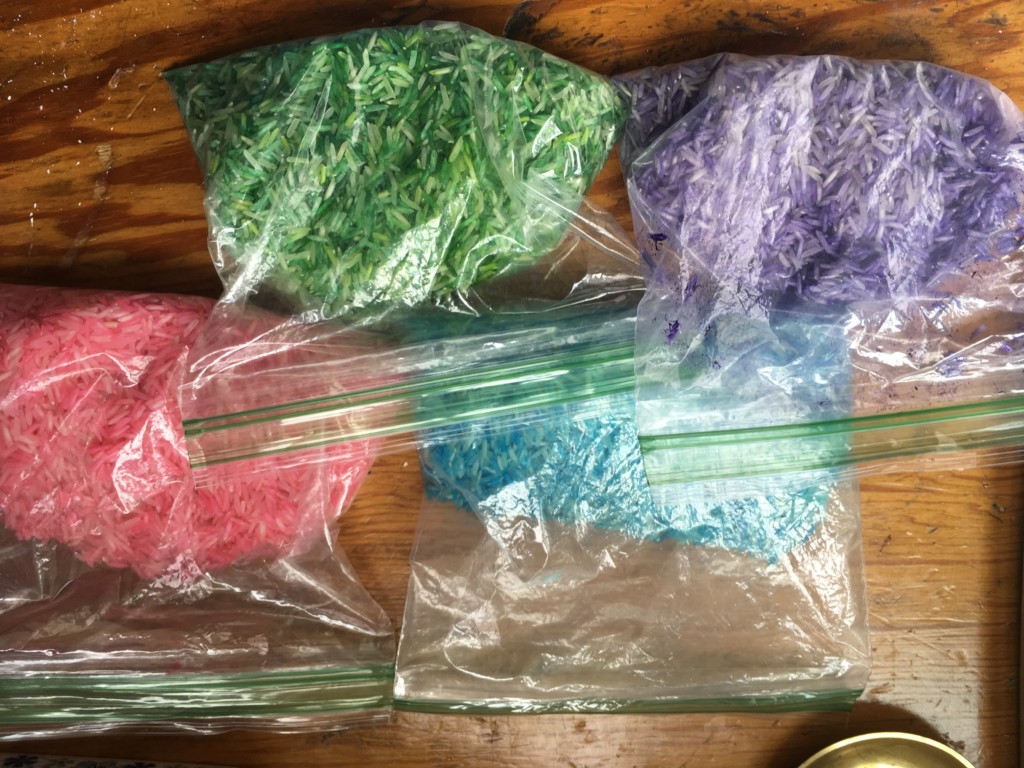
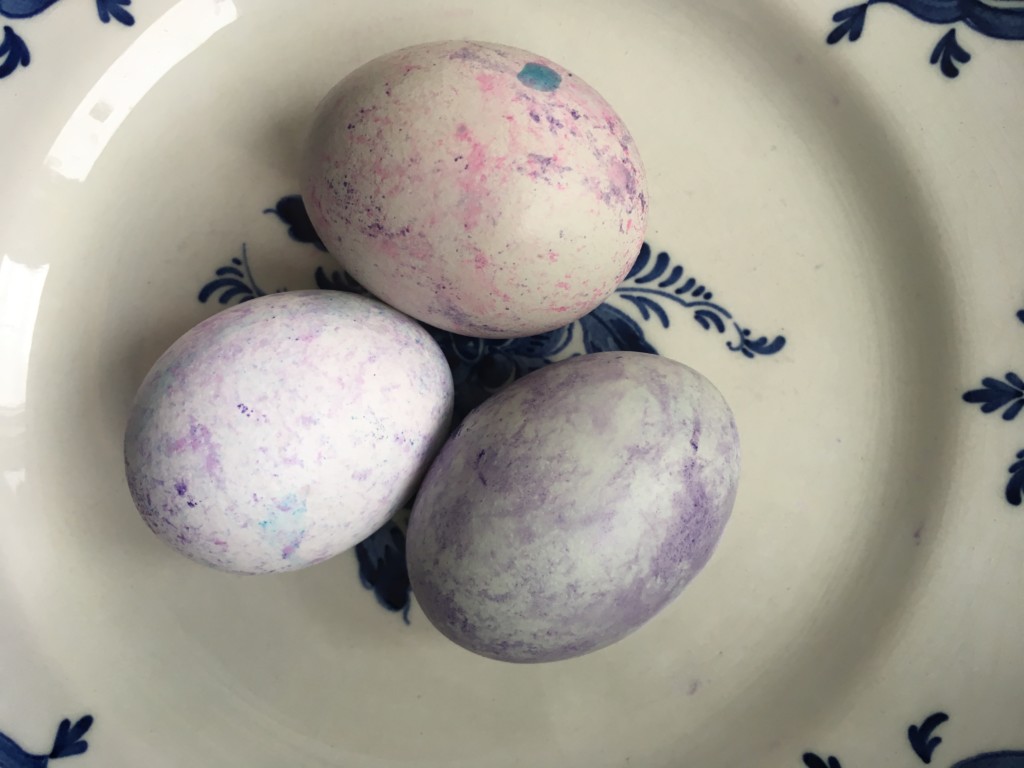
Rice Dyed Eggs: Sandwich sized baggies, 4-6 cups rice, food coloring, hard boiled eggs
Fill each bag with 3/4 to 1 cup rice. Put a few drops of food coloring in each bag and mix up until the rice is a solid color. Add egg and roll around until it is speckled with color, use as many colors as you’d like! This is a super easy way to keep egg coloring mess free, and younger kids are able to do it almost independently! You finish with a very pretty speckled egg too, which is cute bonus 😉