


I can’t even pretend I’m not handy to have around in an emergency. I can cook, sew, clean, rock the laundry room, Marie Condo fold all your stuff, fix most things that break, I’m ridiculously strong for my size and given the adrenaline rush could probably lift a car off you in a pinch. But, above all things, I can craft like a mother. (no pun intended)
So, this year I have pulled together a few of my favorite Valentines crafts, to make your dreary winter days a little brighter with your kids.


Valentines Mobiles Or Dreamcatchers
Age Group: 5+, needs to be able to tie a knot
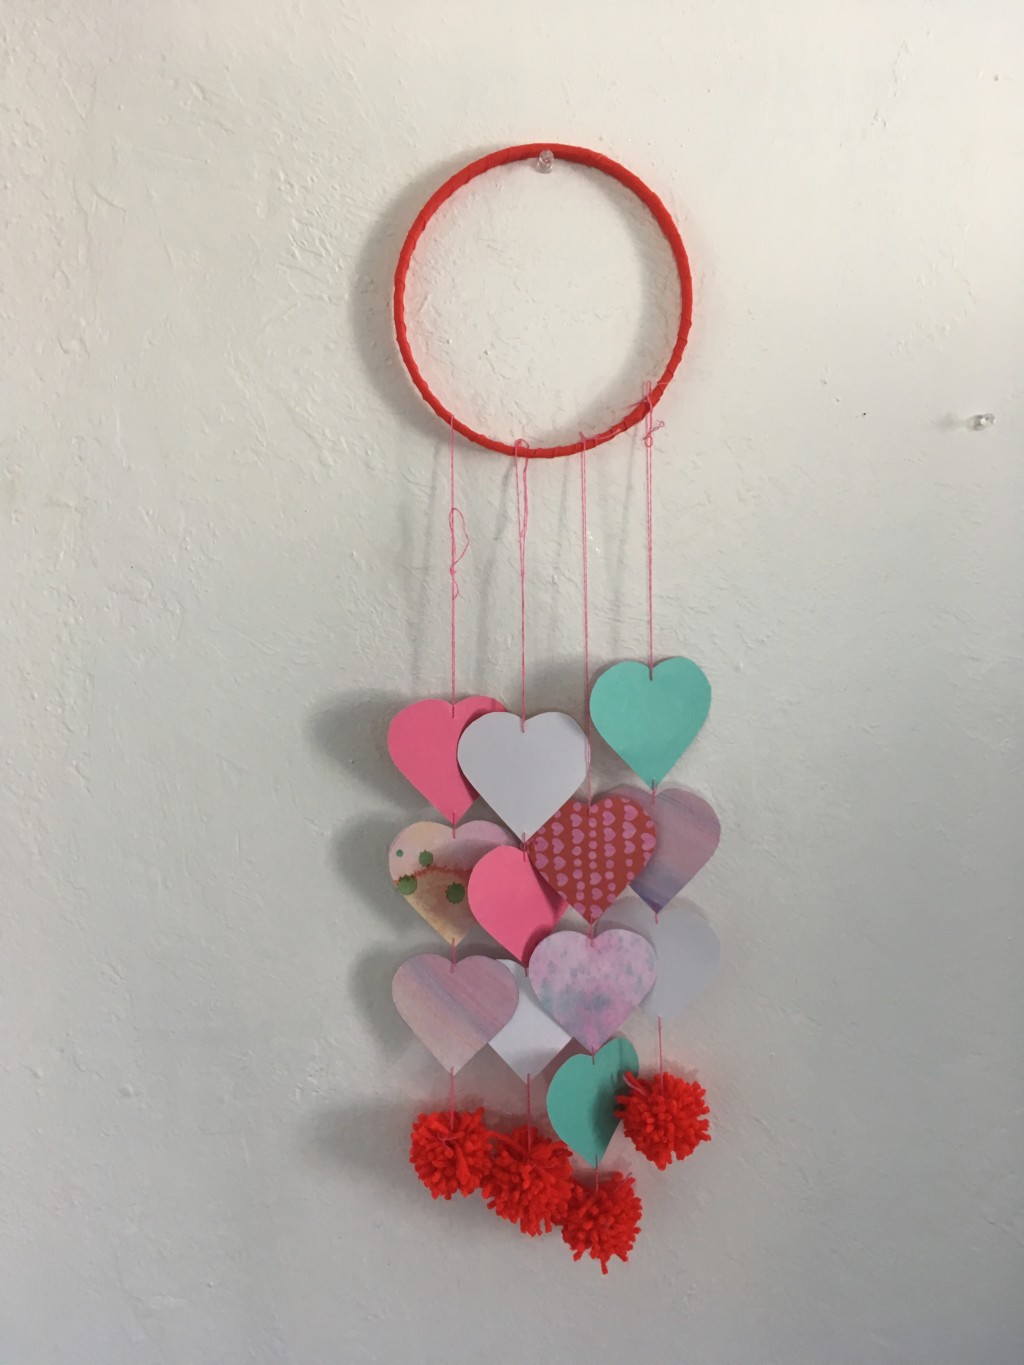
These are so fun and beautiful. My 8 year old made the one pictured above, and did a bang up job! I helped my 4 year old niece make one for her bedroom as well, and lets just say…I made one and gave it to my niece, that’s how little she was able to help, since most of the work is tying things, so I really do recommend this project for over 5.
What You’ll Need:
- -small embroidery hoop (you just need either the inside or outside circle, not both. So one hoop will make 2 crafts)
- -embroidery floss
- -embroidery needle
- -ribbon, washi tape, or bias tape (I typically use whichever I have on hand in the right color)
- -hot glue gun (unless using washi tape)
- -assorted paper or felt, cut into 12 small hearts
- -yarn or store bought pom-poms ***Optional***
- scissors (if making pom-poms)
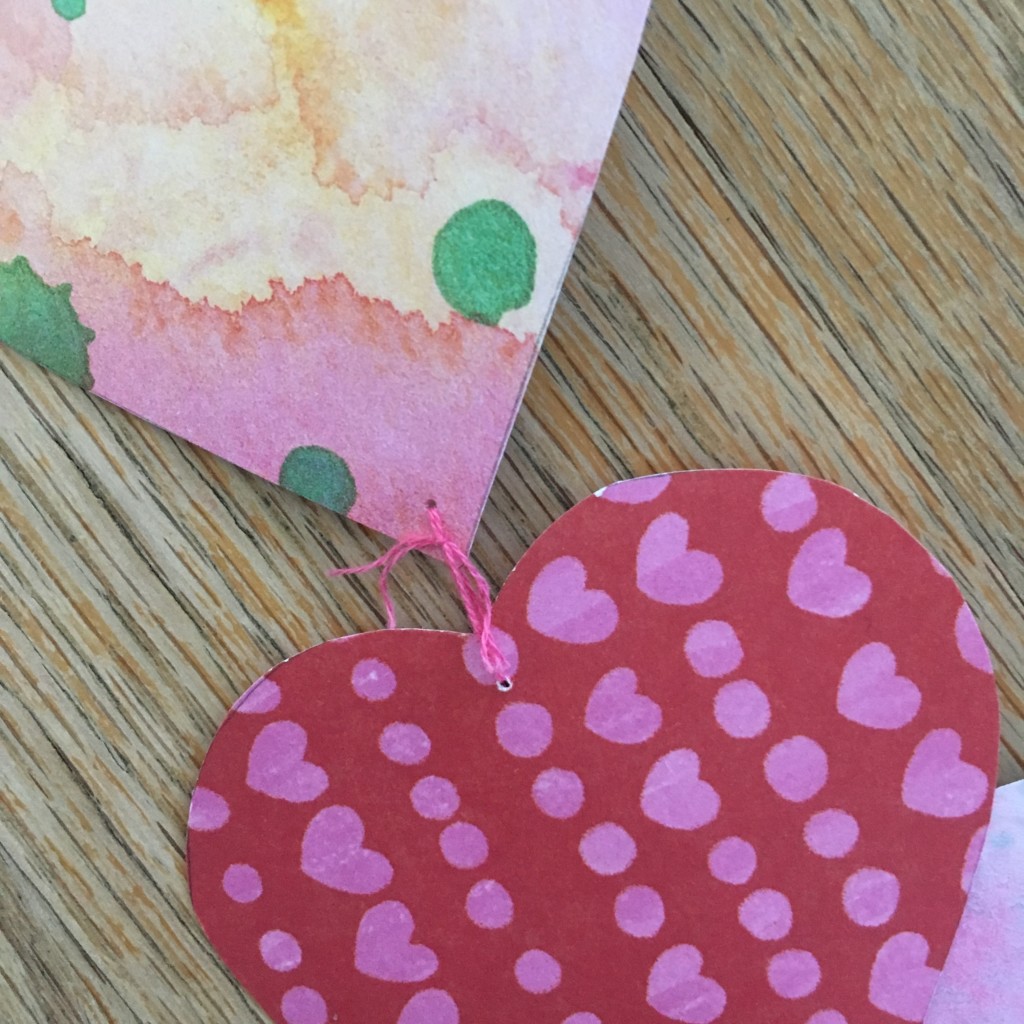
First you will thread your needle with the embroidery floss, and connect your hearts in sets of three. To do this, you will thread into the bottom of one heart and up through the top of the next heart, and then tie them together. This helps create that mobile motion.
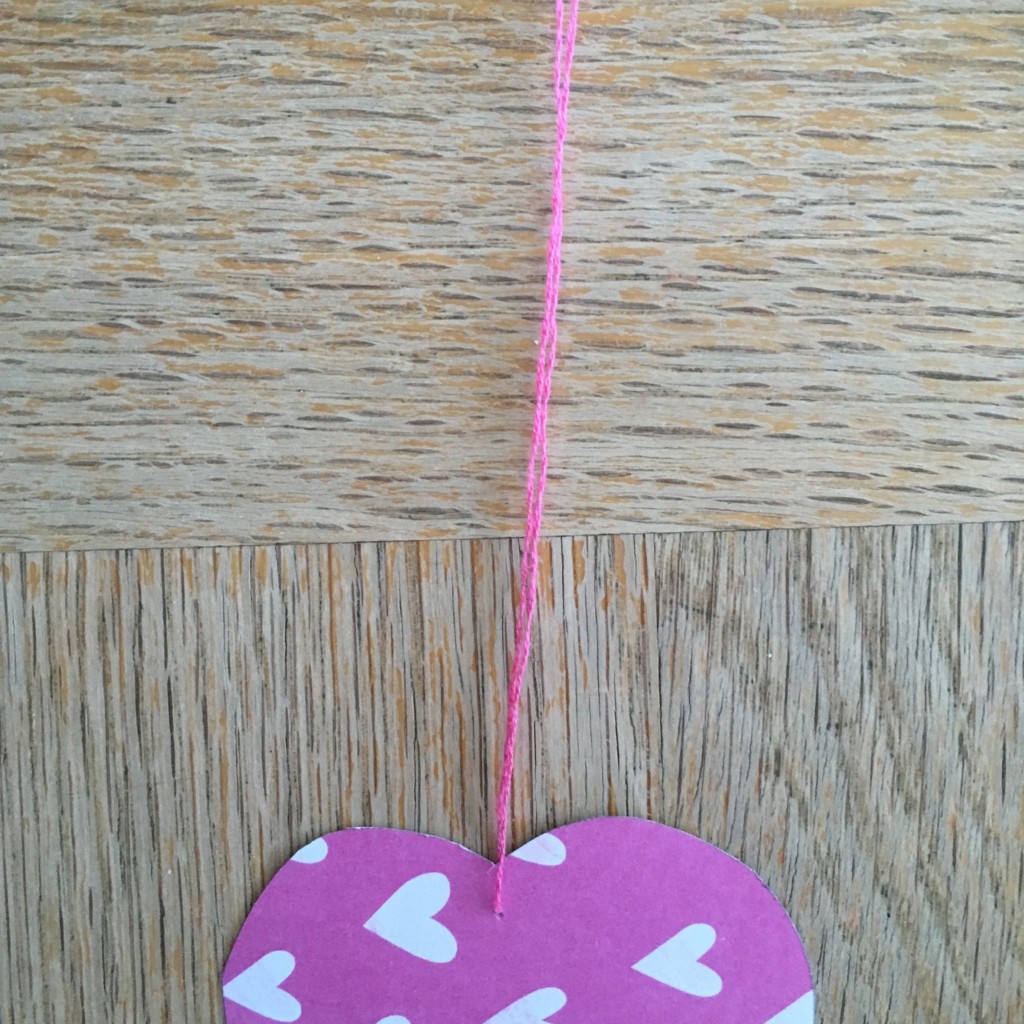
Once all of your hearts are connected in 4 strands of 3, you will add one long string on the top of each strand for tying onto your hoop, and one medium sized string on the bottom heart for tying on the pom pom. (It also works to hole punch the bottom of the last heart and tie pom directly onto the heart, if you are making home-made poms)
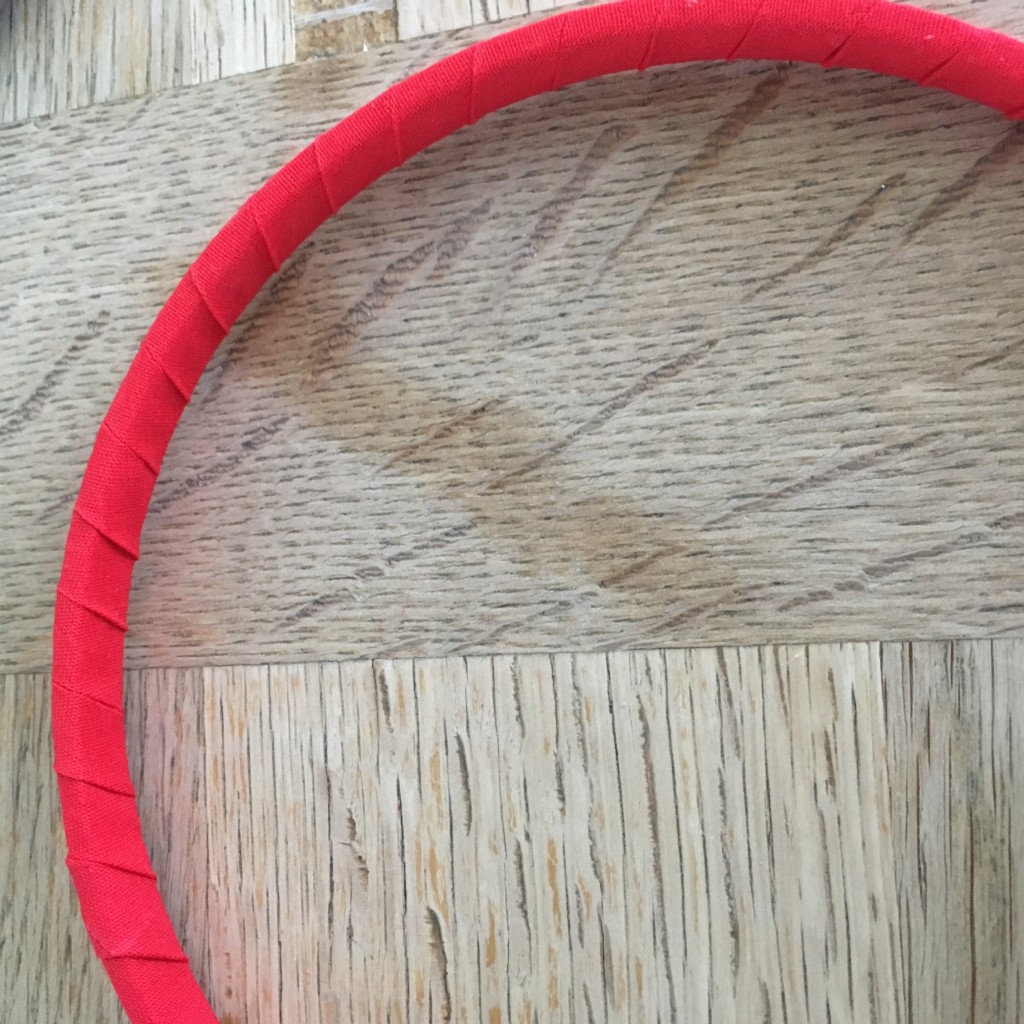
Next step is to wrap your embroidery hoop with the material of your choice. If using ribbon or bias tap, use the hot glue gun at each quarter point around your hoop to keep it in place.

***Optional Step: Make Pom-poms. Directions below.
Now we put it all together, tie on your pom-poms to the end hearts, and then tie each string of hearts onto your loop evenly spaced at quarter intervals. If you want to hang it as a dreamcatcher style, your work is done here. For a hanging mobile you will need to tie on three 8 inch strands of embroidery floss, even spaced around the top of your hoop, and then tie all 3 strands together in the middle creating a hanging string.
Small Pom-poms
I prefer the 2 finger size for this project. Take yarn of choice, and cut 5 inch piece off for tying, and then wrap yarn around your pointer and middle finger 40 times, and cut off. Once you are done wrapping, use your other hand to work it off your fingers while keeping it from unraveling. Take your 5 inch strand of yarn to tightly tie the bundle together in the middle, knotting twice. Cut through all the loops with a scissor, and trim any overly long ends. Make 4 of these.
 for tying")


Heart Ornaments
Age 4+
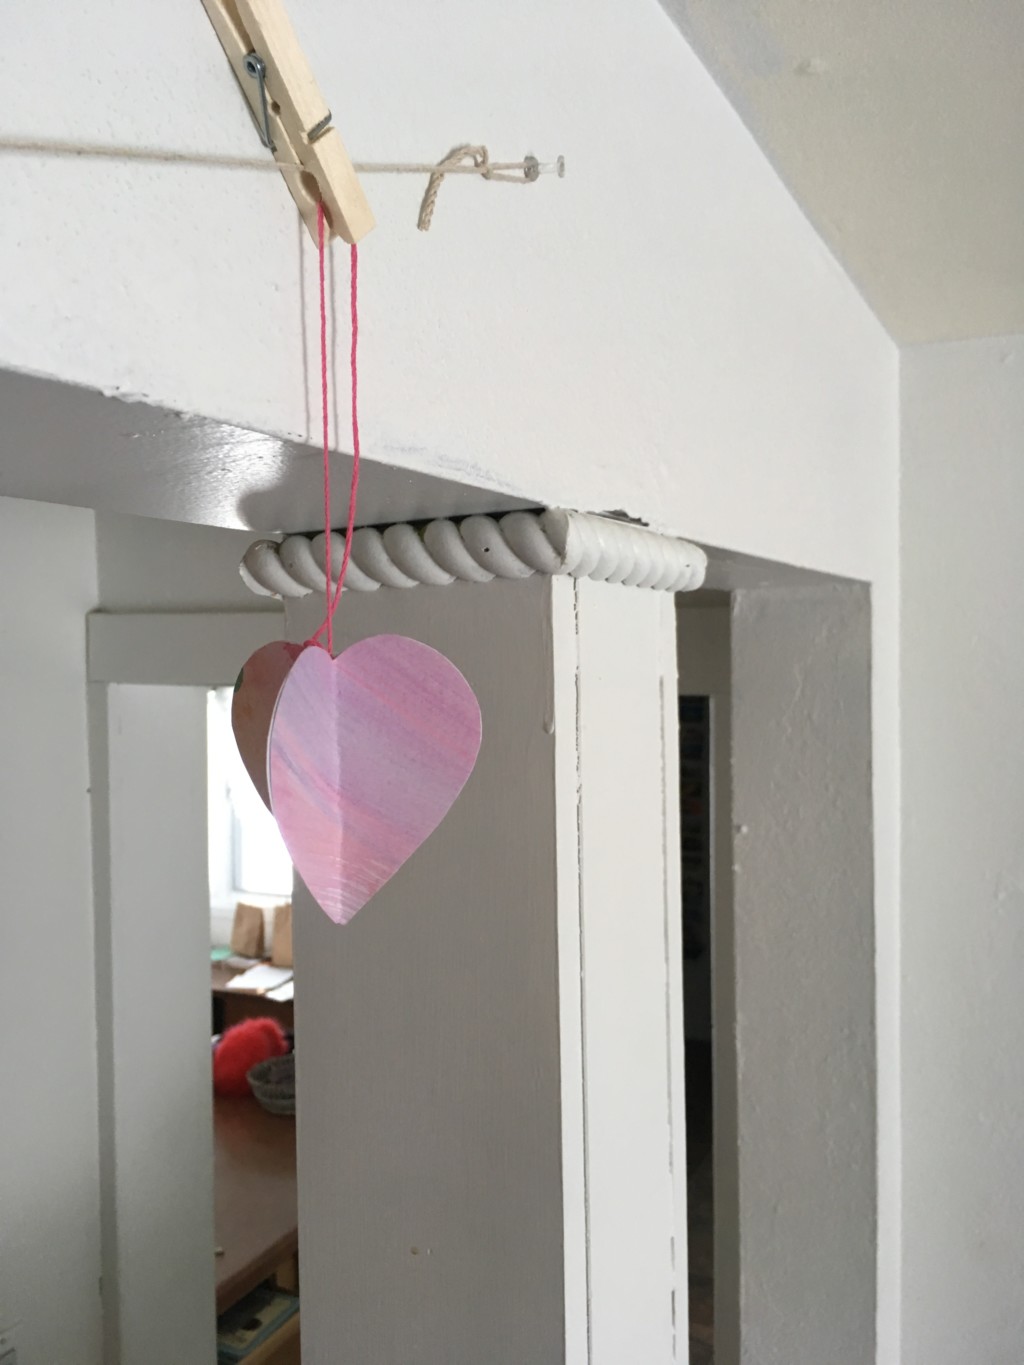
I have only made one of these so far this year, but I have plans for my kiddos to make a 3D garland to string across my window with about a billion of them! They are a fun and easy way to spend some time together, without needing too much assistance from me, and I call that a win!
What You’ll Need:
- -Assorted Paper (valentine colors a plus)
- -Glue (hot glue gun works well for older kiddos)
- -String, I use embroidery floss, but whatever you have around will work too
Cut your paper out into 3 identical hearts, any size works. I like to use cookie cutters as stencils for when I do this with the younger crowd, I hold it and let them trace around.
Next fold the hearts in half.
Take about a 10 inch strand of string and tie the two ends together.
Glue half of one heart to the matching counterhalf of another heart. Take your tied string and glue it to the middle of your hearts before you glue the last heart in place connecting it to the two already together. And that’s it! You have a beautiful heart ornament!
Heart Paper Chains
Age 2+
I absolutely adore these, they are so simple, and any kid who can push a stapler can make them. With using just basic things you already have you can really make a festive craft. Add string at the top like I did and hang a bunch in a row, or just keep connecting hearts to make a long garland, either way it’s bound the be a fun craft time!
What You’ll Need:
- -Assorted Paper (double sided paper is really fun for this project)
- -Stapler
- -String
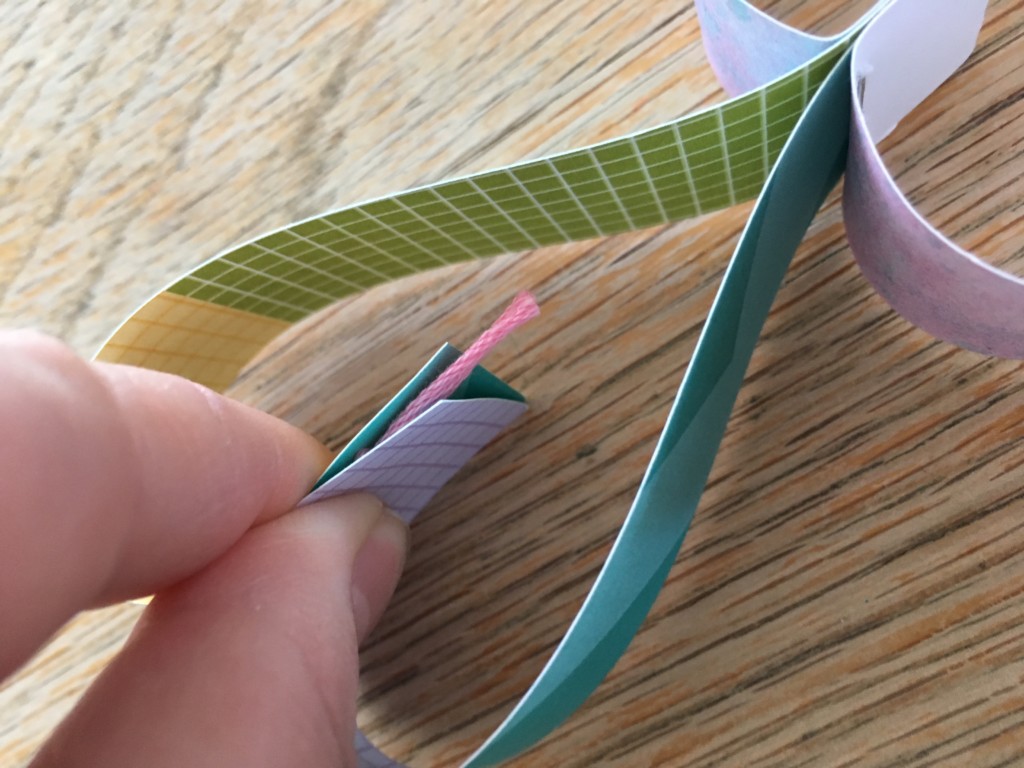
First cut strips of your paper, anywhere from 1/2 inch to an inch will work. The best part is they don’t even need to be the same length, in fact playing with the lengths can add fun dimension, so go ahead and use up some paper scraps you have lying around.
Next fold them all in half, so you have a bunch of V shapes.
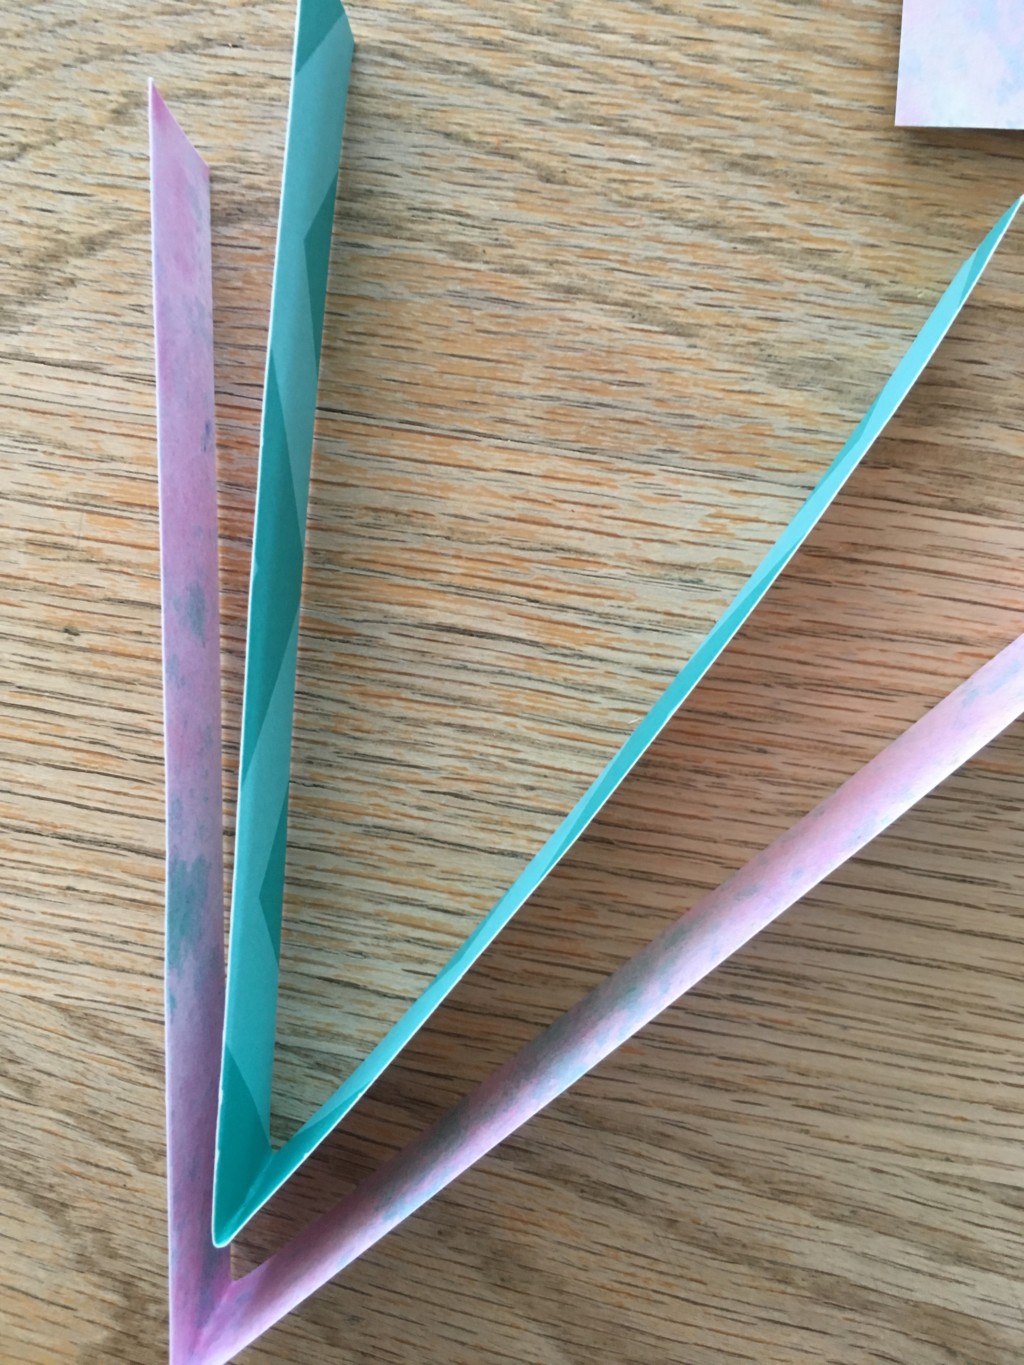
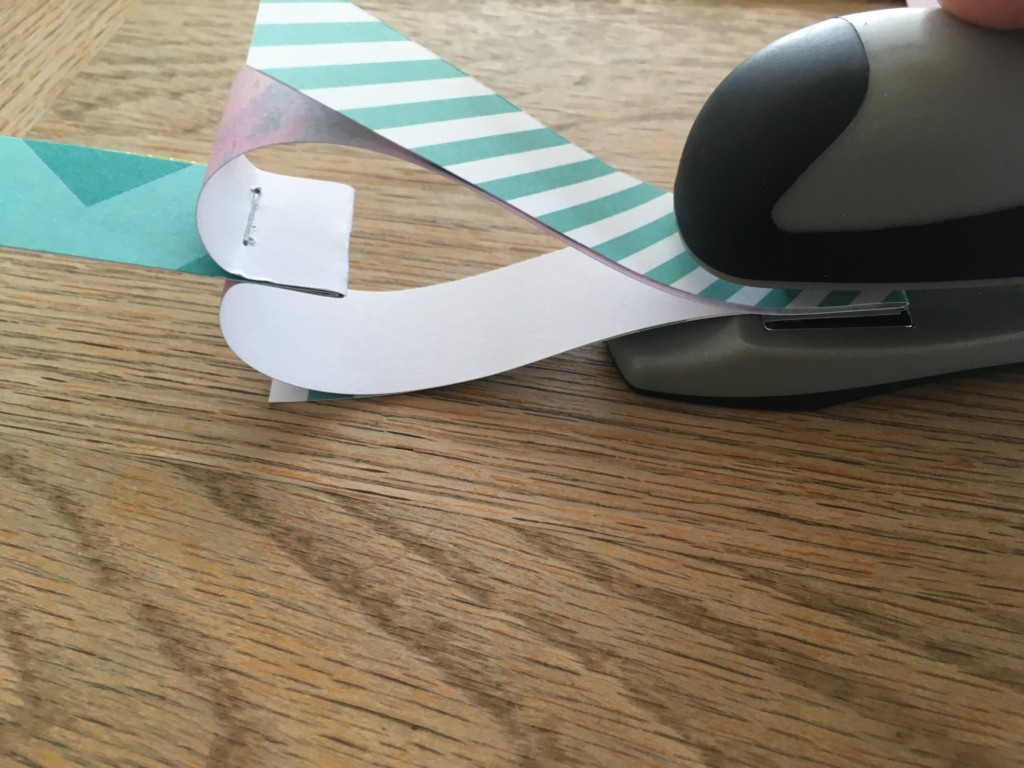
Now we will begin building our chain. Start by putting one paper V inside of the other paper V and stapling them together about 3/4 of an inch in.
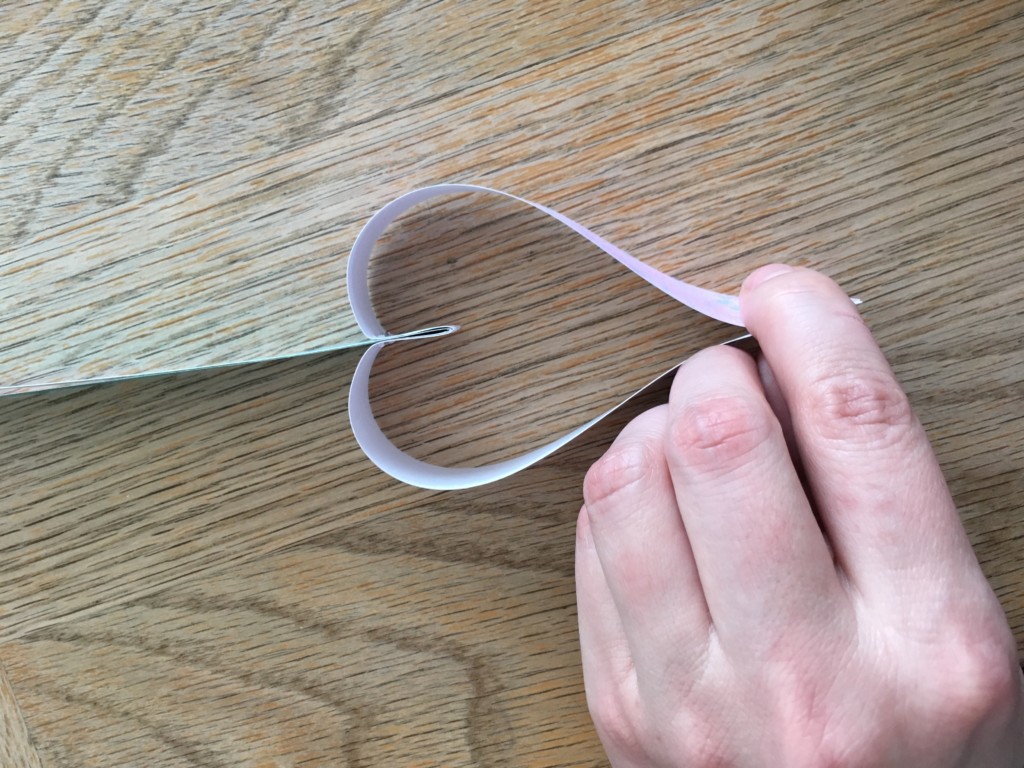

Next pull the two ends of the bottom V together, which will form a heart shape and cover them with a new paper V. Staple together 3/4 of an inch in.

It’s that simple. You continue doing the previous step until your chain is your desired length. In troubleshooting with kids, try to emphasize not pushing down on the paper while they are stapling, and just pushing on the stapler, and you should ward off the dreadful flat heart.
Now to finish it off we make the top of the chain. You will need to take a 10-12 inch piece of string, and fold it in half and tie it. The fold down the two sides from the top strip of paper to form a heart, insert the string in the center of those, and staple down. This part is a bit tricky, so you may have to be hands on here.
You should be left with a lovely chain. Hang two or more to create a nice little art piece, and let the kids go to town on getting rid of all those paper scraps.

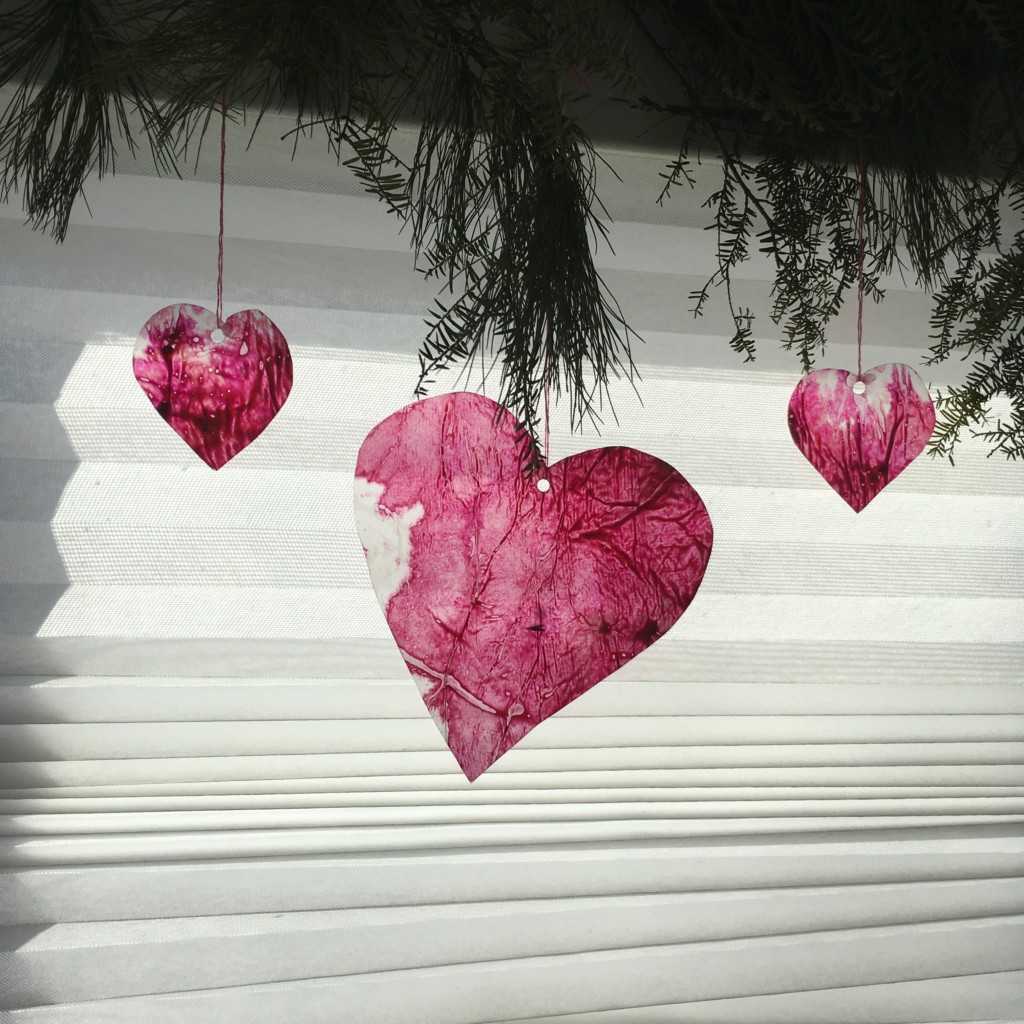
Melted Crayon Hearts
Ages 4+ with parental help.
What You’ll Need:
- -Old Crayons in reds, pinks, and whites ( or use any colors you like, there’s no rules here)
- -Pencil Sharpener with the larger hole
- -Iron
- -2 old towels (your wax may leak so do not use towels you love)
- -Wax paper
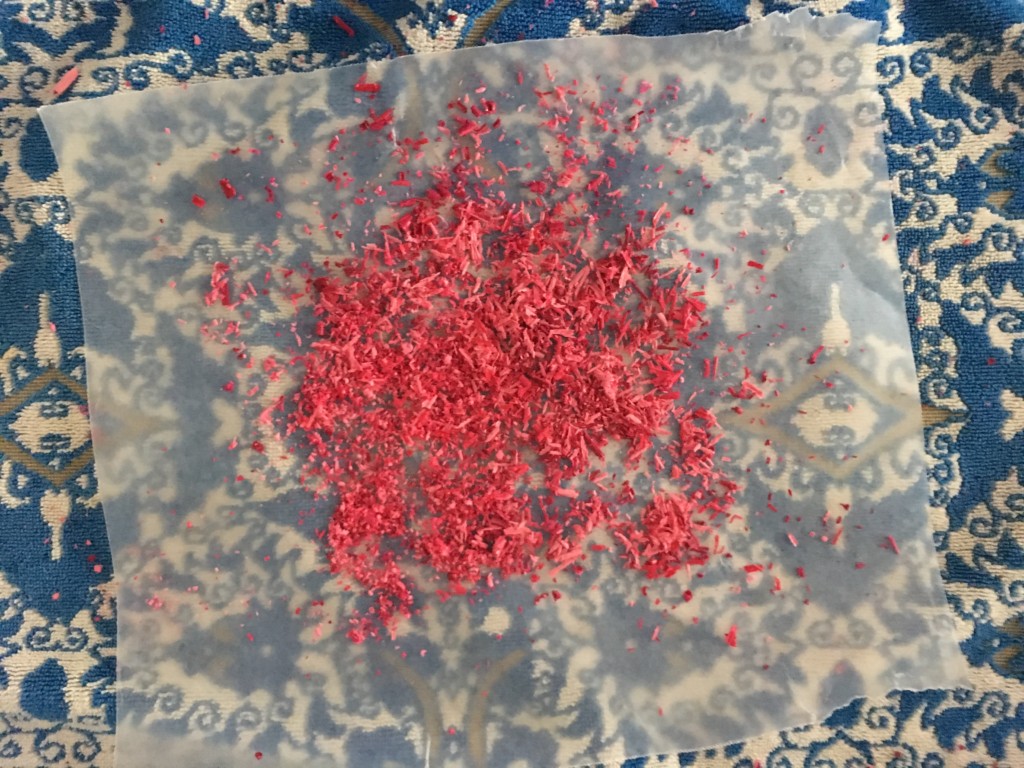

Shave crayon pieces off with pencil sharpener and collect the shavings in a bowl.
Heat up your iron and lay down an old towel. Place a sheet of wax paper on the towel, and fully sprinkle it over with the shaved crayon pieces. Cover with another sheet of wax paper the same size, and place another towel over the top. Iron until all the crayon shaving have melted together. It will cool completely within about 30 seconds.
Cut out into heart shapes and, if you like, punch a hole and hang in a window to catch the sun!
***BONUS CRAFTS******
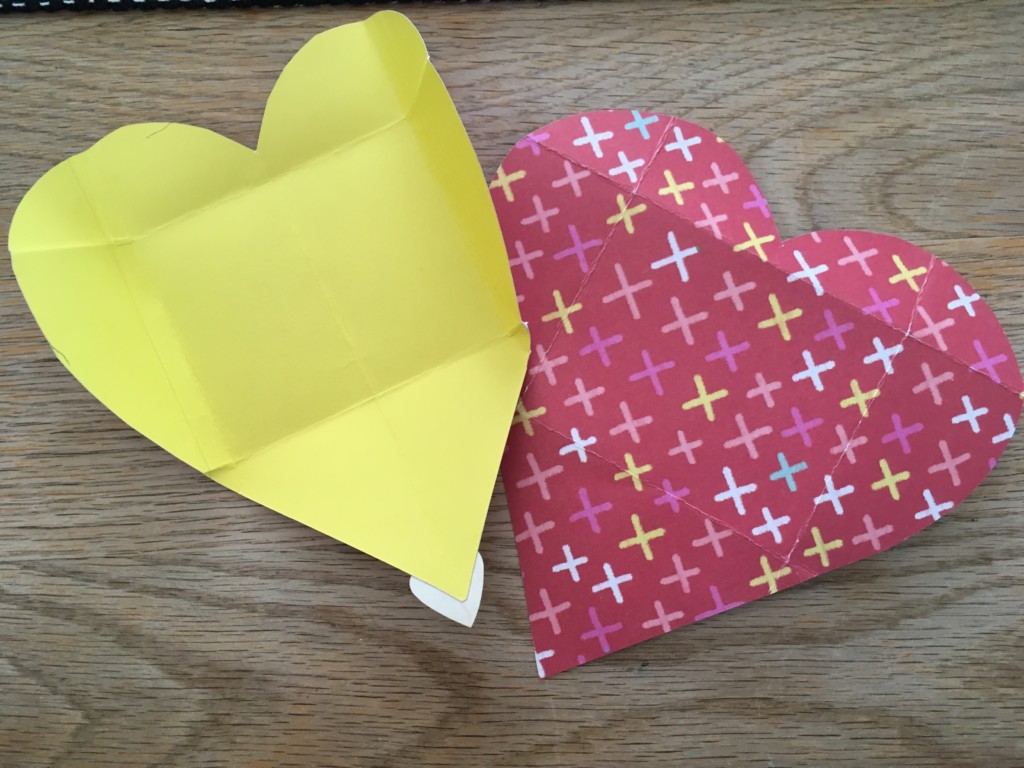
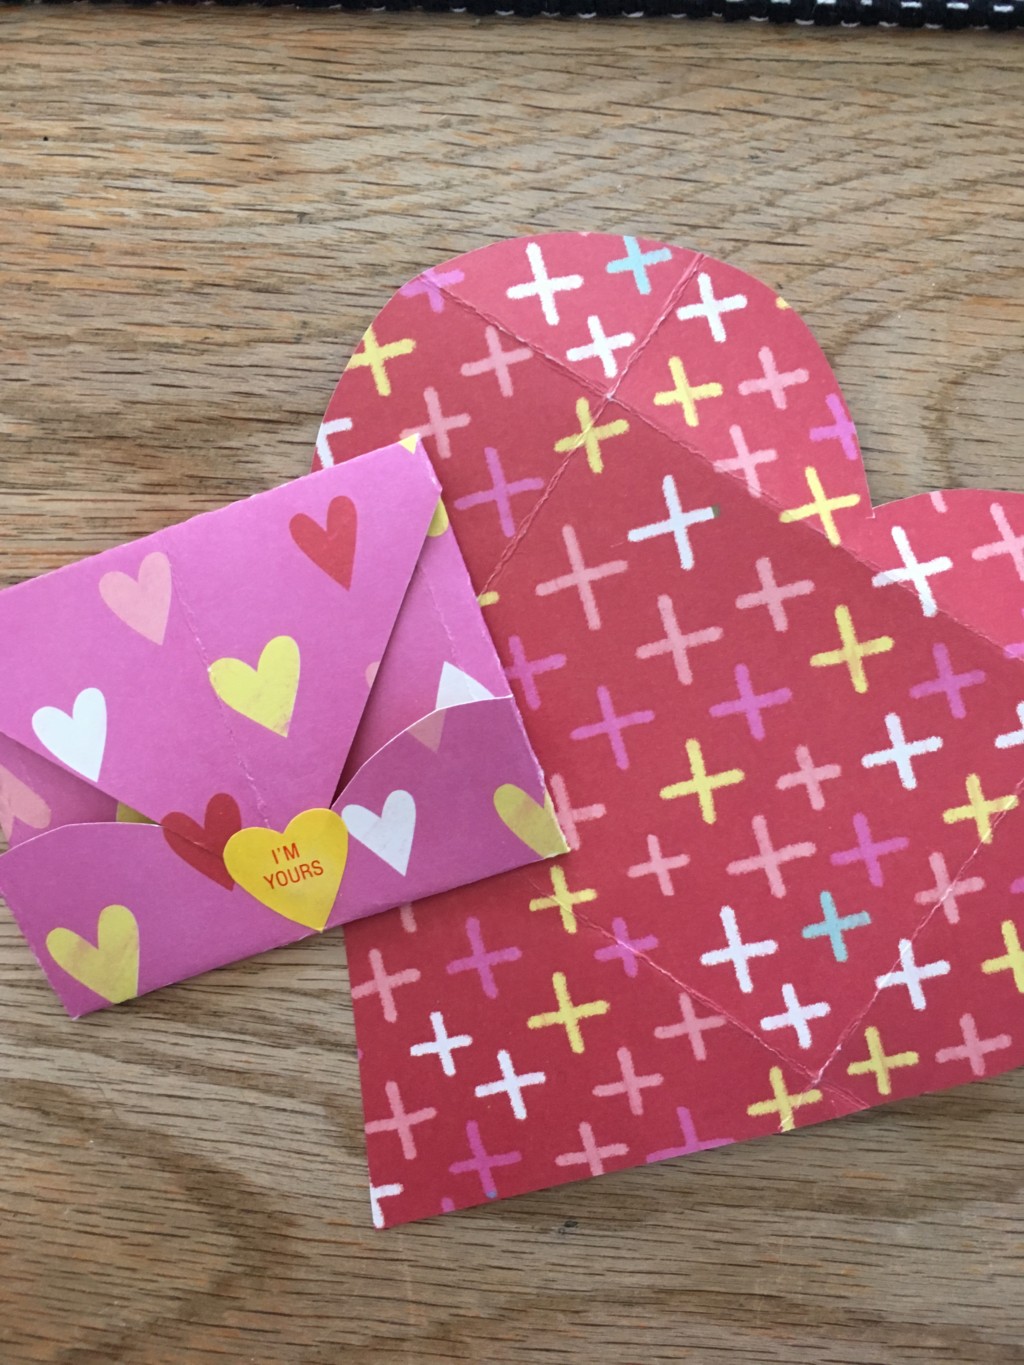
Heart Valentines Envelopes
So easy, cut out a large heart, and then fold all sides in. It will form a small envelope, fill with a message and seal with a sticker, and you’re done!
Valentines Bookmarks
Cut out 2 hearts, one smaller than the other, and glue them together. Take an xacto knife and cut along the v line of the small heart about 3/4 of the way up. That’s it, they are finished. So quick, easy and useful!


