


Food can be great inspiration for art project fun! It’s spring here in Wisconsin, which means lots of time at the park and riding bikes yet also many cool, rainy days that need projects. Here are five great ideas for kitchen art projects.


Homemade Play-dough
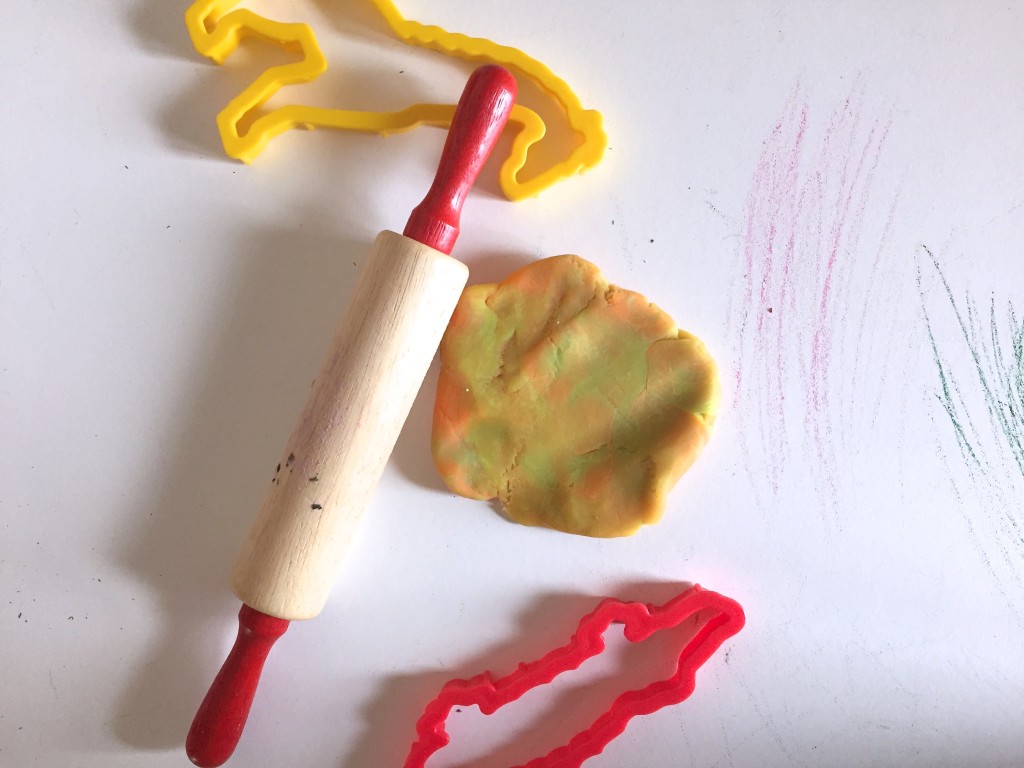
What you need:
- ½ cup Coconut Flour (or 3/4 all-purpose for non gluten-free)
- ½ cup Cornstarch or Tapioca starch
- ½ cup Salt
- 2 tsp Cream of Tartar
- 1 tbsp Oil
- 1 cup warm water
- 1 tsp Turmeric (for color) (or use other spices for different colors – cinnamon makes a lovely creamy brown- plus it smells great)
Combine dry ingredients into a medium-sized saucepan and whisk till combined. Add oil and water and whisk well. Put the saucepan on low heat, stirring mixture (add spice if using after a few stirs) until a ball of dough forms. When the dough pulls away from the sides of the pan, remove from the heat and let cool, then kneed till smooth. If the dough is too hard, add a little water and knead well. If it is too sticky, add a little flour and knead well. Store in an airtight container (when not using) for up to 3 weeks. Making your own play-dough is fun and safe (in case it gets put in little mouths there are no icky ingredients).
[hr]
Cereal Necklaces
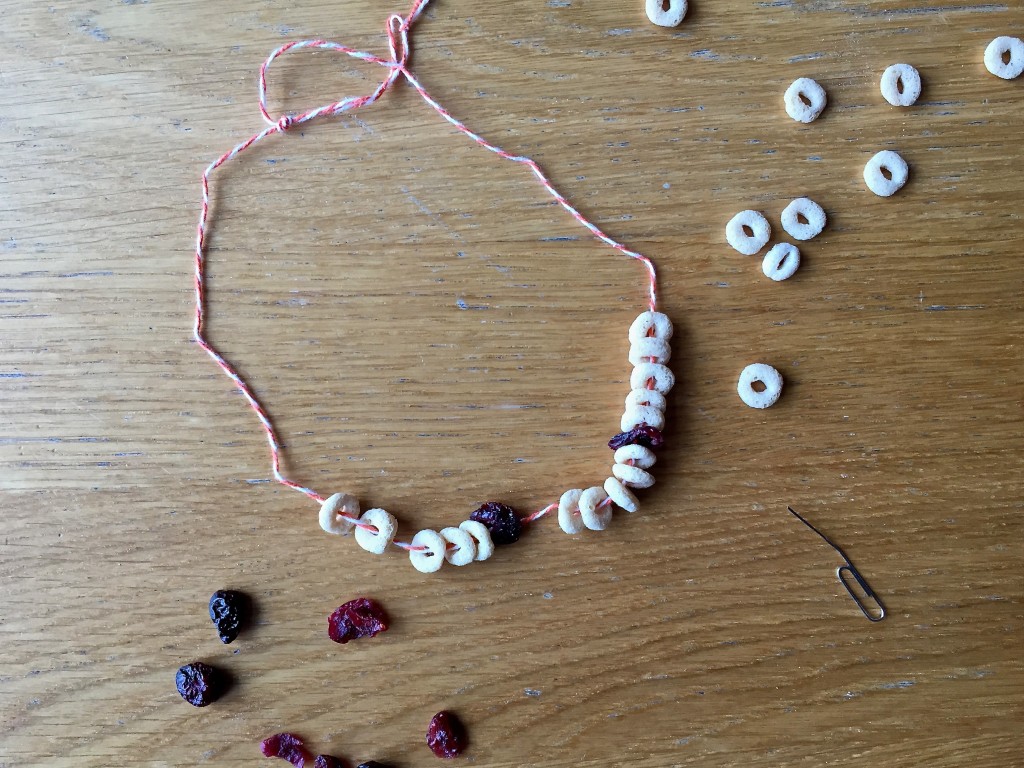
What You Need:
- Yarn or String
- “O” Shaped Cereal (we use Nature’s Path Whole O’s)
- Dried Fruit
- Paperclip
Here is a fun way to make jewelry! String the cereal and dried fruit on the yarn or string (it will need to be pretty thin). Use the paperclip to poke a hole in the fruit and help push the string through. A wonderful exercise in fine motor skill development as well as a perfect opportunity to work with patterns and creativity. Bonus – jewelry you can eat!
[hr]
Fruit Sculptures
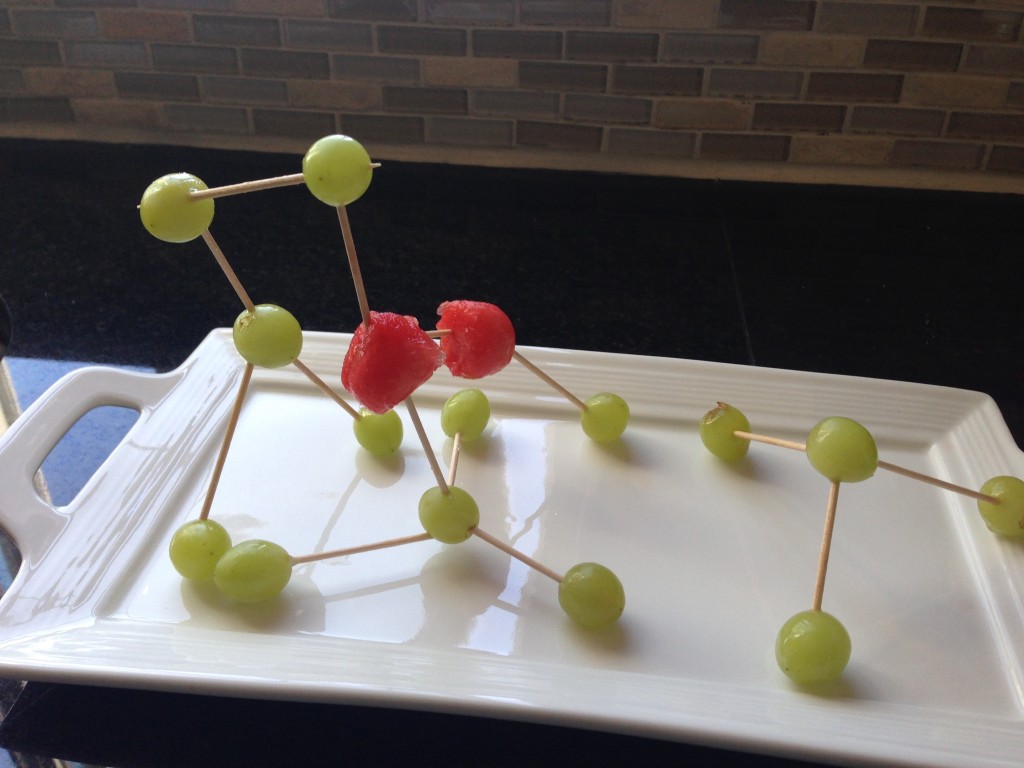
What You Need:
- Grapes
- Melon
- Berries
- Cheese Cubes (optional)
- Toothpicks
Here is a fun and engaging way to create art with food. Use the tooth picks to attach fruit together to build sculptures. Create and enjoy briefly before gobbling up the healthy treat.
sculp·ture noun \ˈskəlp-chər\: the art of making two or three dimensional representations of forms.

[hr]
Recycled Sculptures
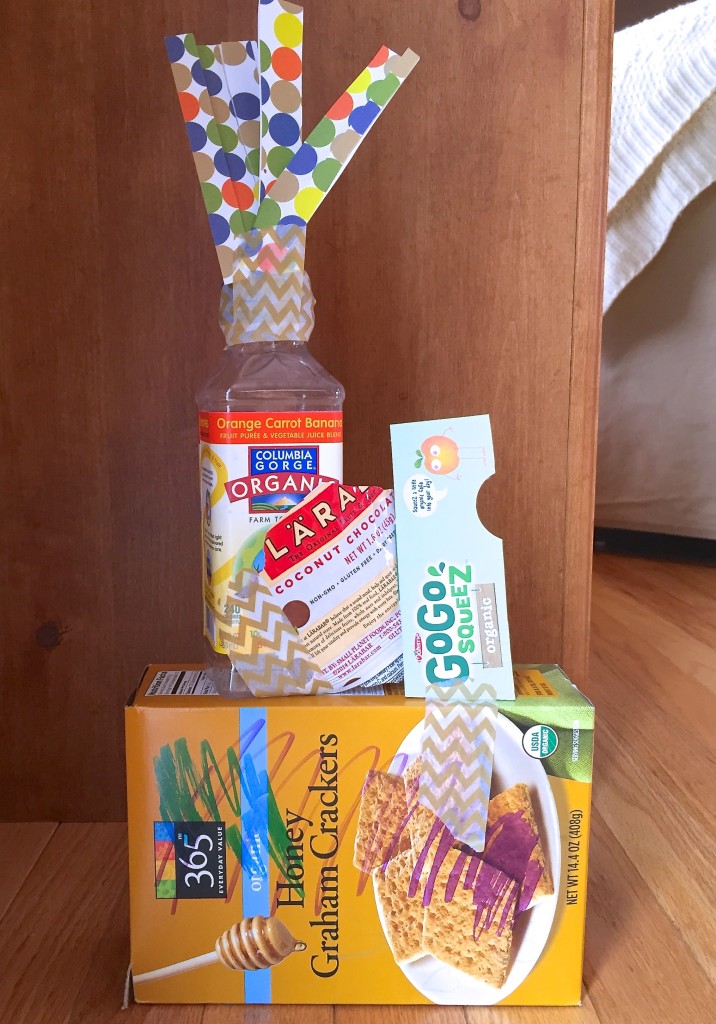
What You Need:
- Empty food boxes and containers
- Glue or tape
- Markers or Paint
- Paper Scraps
Using things from the recycle bin, build some fun 3D sculptures. Glue or tape pieces together, add paper, decorate with markers or paint. There is a lot of room for kids to use their creativity with this project as well as spacial concepts and balance. Plus when you’re done with it (maybe snapped a few pictures of it) it can go right back in the recycle bin, win-win.
[hr]
Bean Pictures
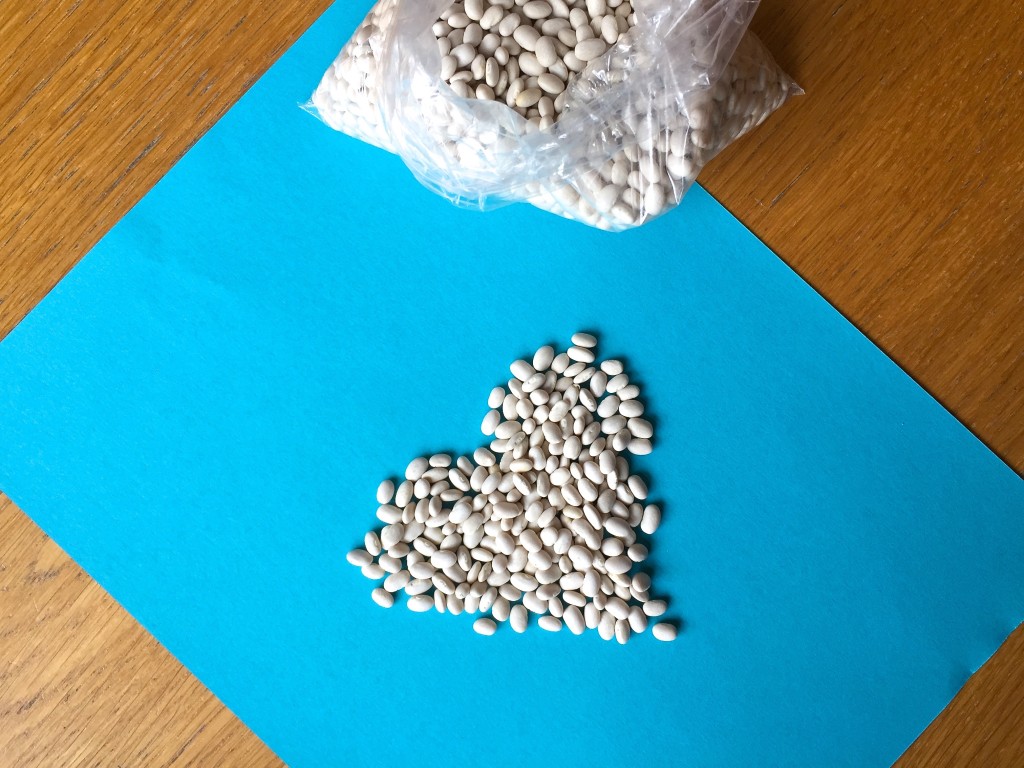
What you need:
Assorted dry beans
Glue
Heavy paper or poster board (wood scraps will work too)
Glue dry beans on to paper or poster board in desired pattern. This is a wonderful sensory project, building fine motor skills and allowing for creativity. Give the beans at least 24 hours to dry completely before moving.


