


This is part 2 of a series on improving the pictures you take of your children. If you missed part 1 of this series, be sure to check it out here.
As a mom that loves to take pictures of her children, I am constantly trying new techniques, experimenting with new set-ups and lighting, and otherwise trying to learn how to get awesome pictures of my kids. Today I am going to share a few more tips and tricks I have picked up along the way to help you snap better pictures of your kids.


#5: “Posing” Your Kids for Pictures
As most parents know, it is extremely difficult to “pose” your children for pictures – especially kids under the age of 5. They just want to run around and play. They certainly don’t want to stop, slap on a beautiful smile and look at the camera. So how can you get your kids to stop for a second and look at your camera with a smile? The first thing is NOT to ask them to smile at the camera or say cheese. When I ask my son to smile at me for a picture, this is the face I get: 
Can anyone relate to this? It looks like he is half in pain and half squinting from the sun. Not exactly the look I am going for! What we all strive for when we take pictures of our kids is a nice, genuine smile. The best way I have found to get my almost three-year old son to truly smile is for me to ask him to show me his teeth. I am not sure why but this seems to work. This is what I usually end up with:
Much better, right? I sometimes even tell my son that Elmo (or Mickey Mouse, Nemo, etc.) is in my lens and wants to see his teeth. This trick really seems to work to produce a nice, non-fake smile. He much more willing to listen to Elmo than me. I almost never ask him to smile or say cheese. Why? Because it is never his true smile that results.
Another thing you can try if the teeth trick isn’t working is to ask your child to just start laughing.If they are resistant, try laughing with them and see if you can get them going. When my son starts laughing, I pause for a second or two before I hit the shutter down though and wait for “after-math” because that is when the true smile comes out. I also play a LOT of games with him such as hide and seek and peek-a-boo. This seems to elicit a genuine smile most of the time.

For this picture I told him to hide and then I “found” him with my camera. For the older kids, you can also try singing some funny songs such as “Twinkle Twinkle, Little Stinky Foot” or “Old MacDonald had an ice cream con” and see what kind of reaction you get. It will take them a second to process what you just said but the reaction is usually a very genuine smile.
I also like to play the “don’t-you-dare smile” game. Most kids simply can’t help themselves and will end up cracking up in their attempt to not smile. The more you tell them not to smile the more they will usually smile!

I also like to make sure kids have something to hold in their hands. This helps to keep them occupied and sit still even for just a few seconds. Try something small like a little train, a pinecone, a small twig or flower. Something that won’t distract too much from your photo. Let them hold it and play with it for a minute or so and then softly call their name. As soon as they look up, snap your shot.

One last tip for posing your older kids – let them see the pictures you take of them. Take a shot and then turn the camera around for them to see. This works especially well for the 3-6 year olds. They like to see themselves on your screen and will find it cool that they are “inside” your camera. This may help their cooperation for just a few more pictures.
For the littler ones (ages 6-12 months), one tip I like to use to get them to sit still is to put a piece of scotch tape on their hand. You really won’t see it in the picture (although you kind of can if you look closely at the picture below) but it will likely distract them for a minute – long enough to snap a picture. Just be sure you are close by and paying full attention so they don’t eat it!

#6: Composing Your Picture
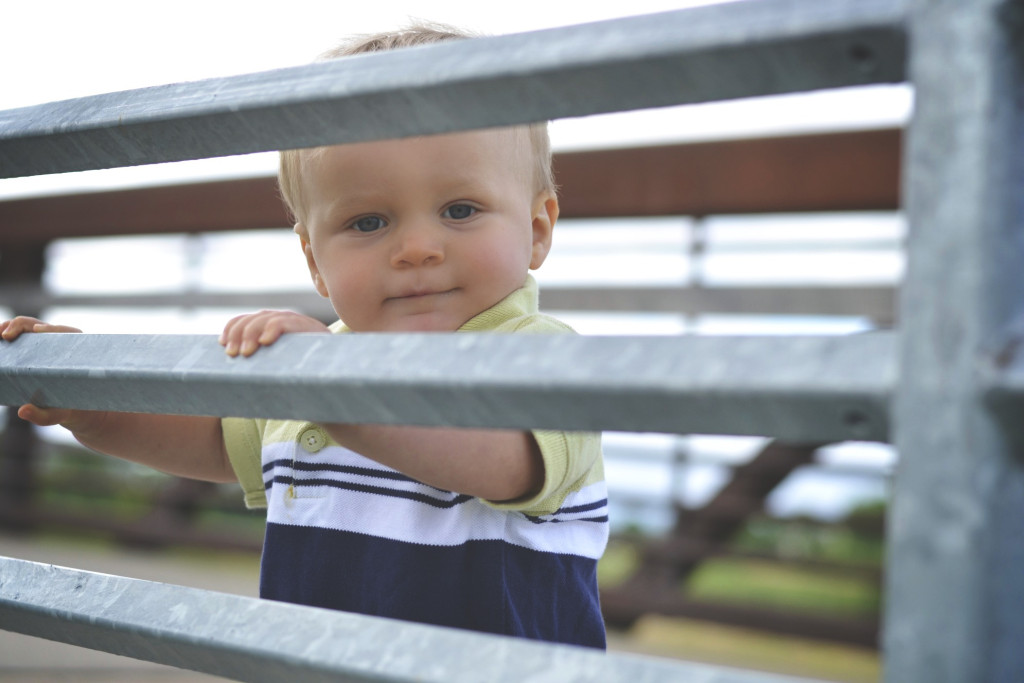
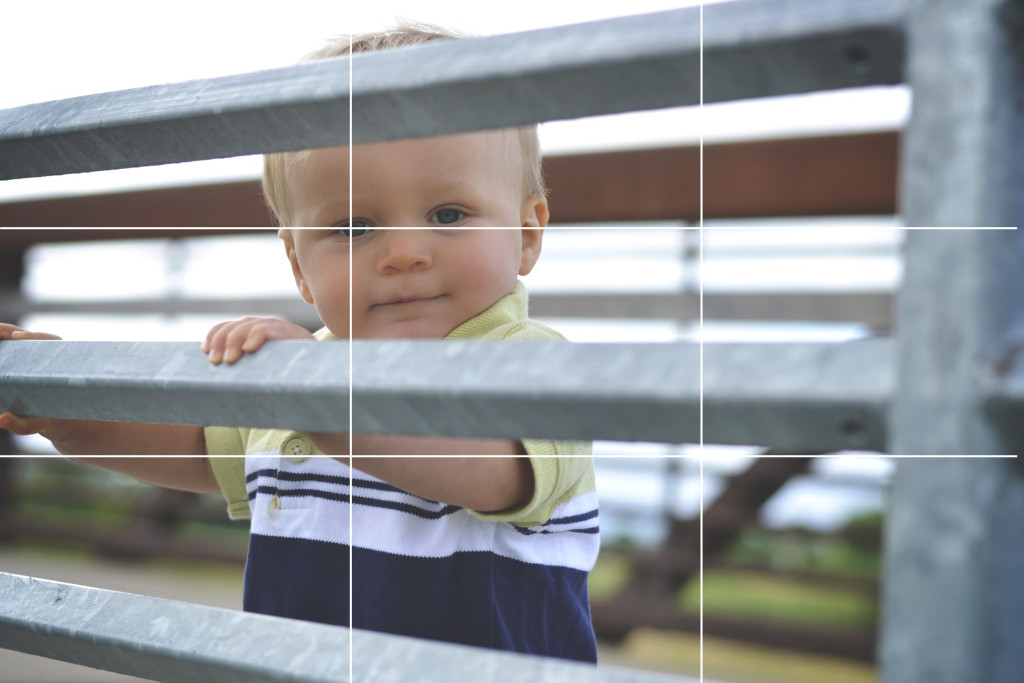
There is a concept in photography called the Rule of Thirds. This is a timeless technique that will help take your pictures from boring snapshots to wow photographs. Here is how it works. Think of placing a tic-tac-tow grid over your picture. You want the most interesting part of your picture to fall on one of the lines on the tic-tac-toe grid.

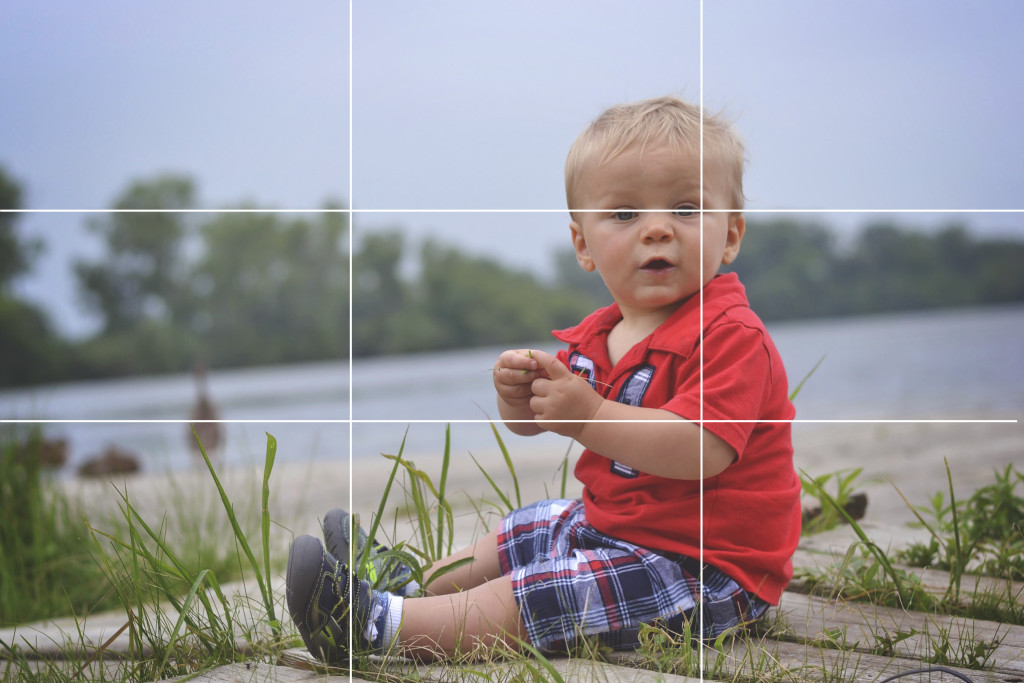
When taking portraits, the eyes usually are the part you are aiming to place at one of the interesting lines. This is not a hard and fast rule and can certainly be broken. It is just something to consider when composing your picture.
These days many DSLR cameras and even compact camera allow you to incorporate this three-by-three grid on your LCD display to help you when you are taking your picture. Check out your camera manual to see if your camera has this feature. If it doesn’t, almost all post-processing programs (such as photogshop elements) have this grid available in the crop tool, which makes editing your photo using the Rule of Thirds even easier.

#7: Practice, Practice, Practice
Of course it is helpful to read books or tutorials (and your camera manual) to improve your photography skills. However, the best way to improve your skills is to actually practice taking pictures. For my friends that have fancy DSLR cameras, I know this can be a little overwhelming. There are a lot of technical things to learn such as aperture, shutter speed, and ISO. And I know it can be hard trying to take pictures of your squirming children WHILE you are practicing and learning your camera. One tip I have is to use your children’s toys to practice. I have been doing this for three years and know it has really helped me improve my photography skills. Toys don’t move or run away and can be positioned in the precise direction you want them to face. So during nap time or any other downtime you may happen to have, try practicing some new photography techniques with toys.

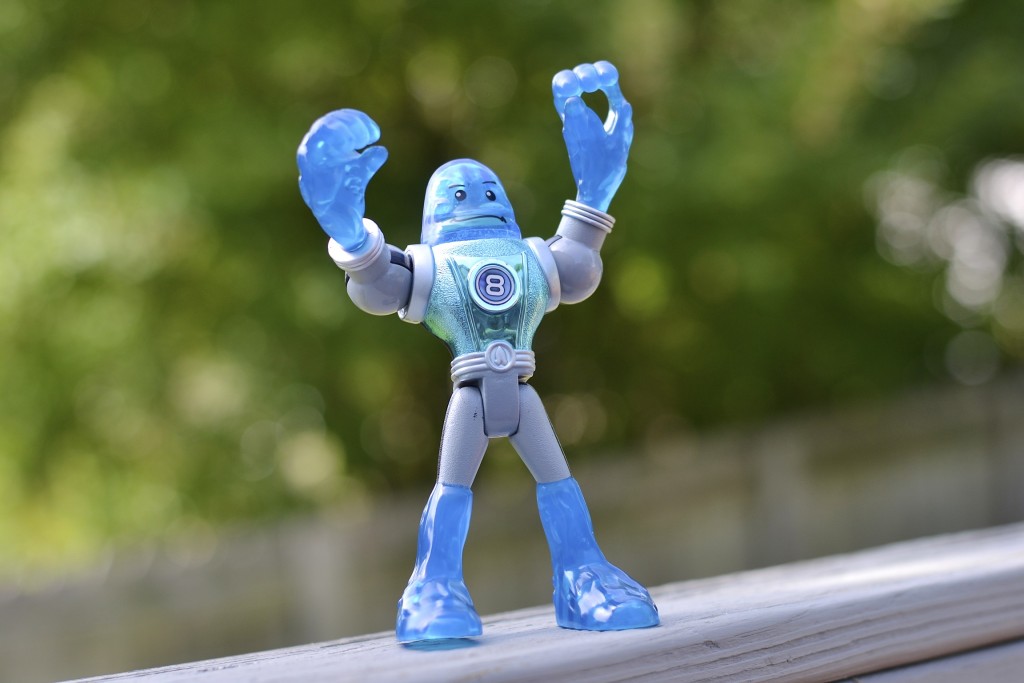


For example, in the picture of above of the trains, I was practicing with the aperture setting on my DSLR. This setting is referred to as the AV or A on your camera dial. Do you see how the trains in the background of the left picture are blurry but the trains on the right picture are in focus? This is what the aperture setting on your camera allows you to control. By lowering the aperture – the f-stop as it is referred to, to something small like f/3.5 or f/5, more of the background is blurry. However, when you raise the aperture to a bigger number, such as f/10 or f/12, more of the picture is in focus. For more on this subject check out this great tutorial on aperture and other technical aspects of photography presented in a super easy to understand way. These trains provided a great way for me to practice some of the skills being taught in that tutorial on aperture settings.
#8: Bring Your Camera Everywhere
It probably goes without saying that in order to improve your photography skills you have to start taking more pictures. This begins with bringing your camera with you. I bring my camera pretty much everywhere we go (not just my iPhone – my bigger DSLR). I mean everywhere. Every trip to the zoo. Every time we venture to the Children’s museum. Each weekend outing we take as a family (like to Brat Fest). I have even brought it with me to the library and grocery store. Yes it is kind of a pain to carry with me – especially when I am heading out of the house alone with the two kids. But I am ALWAYS glad I have it with me even if I just snap one or two pictures from our outing. The iPhone does the trick some of the time but I am always happier with the pictures taken with my DSLR.


Along the same lines as this tip, it is very important to make sure your camera battery is always charged. When I go to bed at night, I treat my camera like I do my other devices and make sure it is plugged in and charged. There were at least two times when I reached for my camera to snap a picture of something that was happening only to discover a dead camera battery. I was not happy and never want to make that mistake again. You never know when something beautiful is going to happen and you are going to want your camera.

A few weeks ago our family was out for our usual post-dinner walk when the rain came down pretty hard. We quickly ran home and watched the storm from our garage. As soon as the rain cleared my son wanted to run out and jump in puddles (of course). When we all emerged from the garage we noticed a beautiful rainbow. I ran inside and grabbed my (fully-charged) camera and quickly snapped this shot. I didn’t have much time though – the rainbow was gone just a minute or so later. Boy was I glad the camera was all charged and ready otherwise I would have missed the shot completely.
So there you have it – a few more tips and tricks for improving your mom-tography. Do you have any others to add?


